
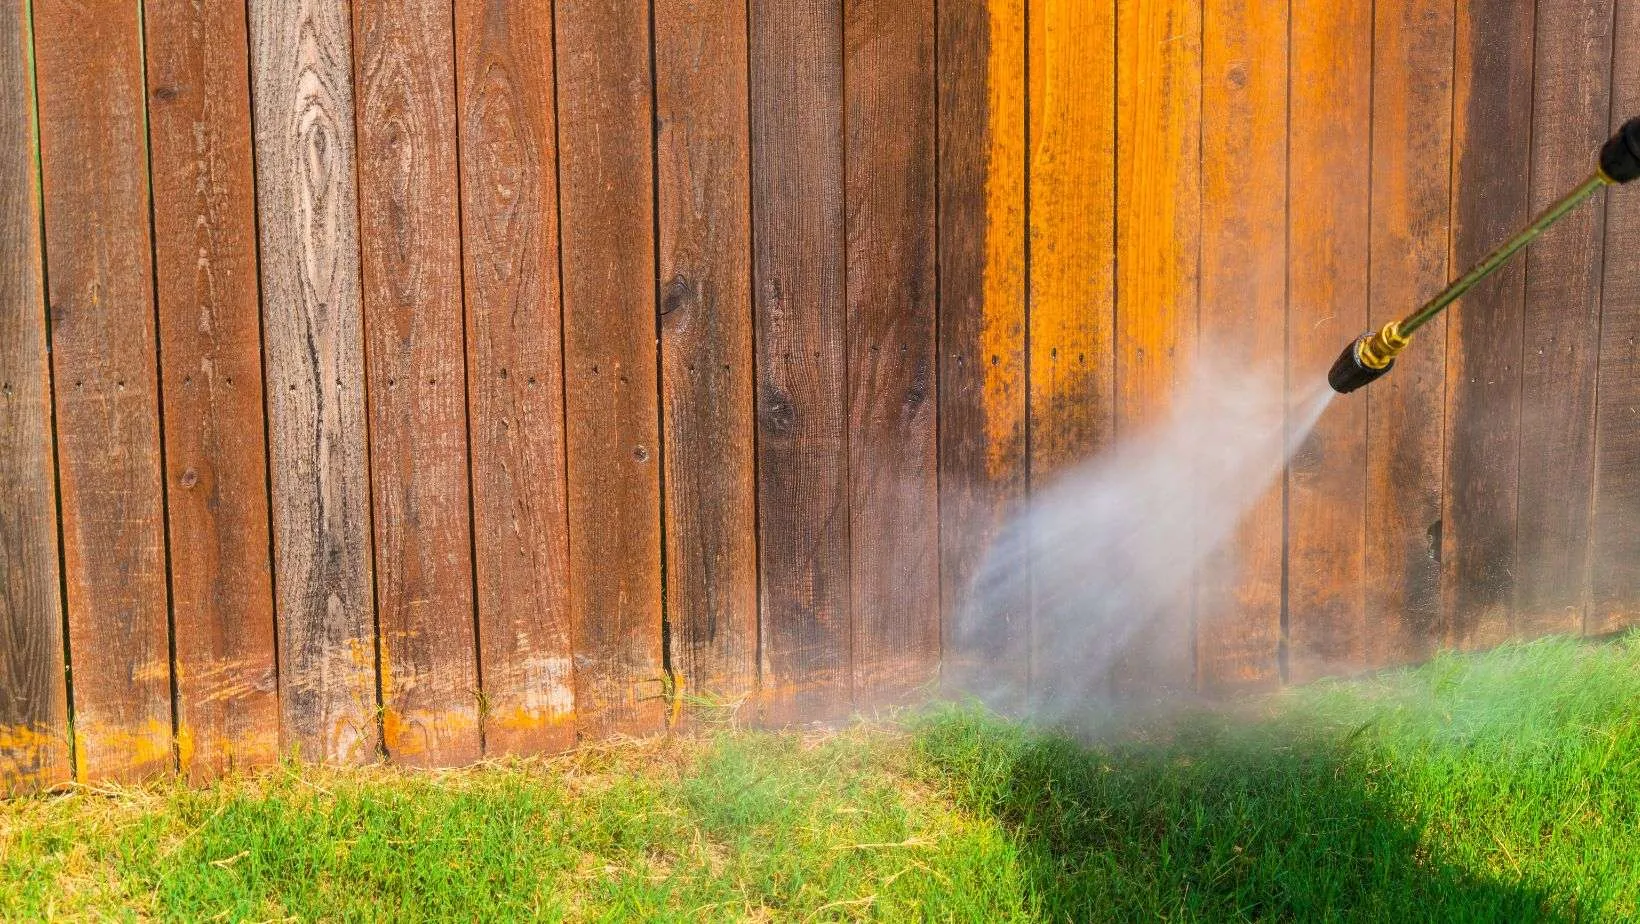
Greetings, fence aficionados and boundary buffs! Do your fences look like they’ve been through a medieval melee, worn and weary, bearing the battle scars of time and weather? Has Mother Nature transformed your splendid boundary into her personal canvas of mud splatters, mossy hieroglyphics, and assorted organic graffiti? Fear not, for today we embark on an enchanting odyssey of rejuvenation, transforming your forlorn fence into a beacon of brilliance and charm.
So, don your most whimsical apron, assemble your trusty cleaning brigade, and let’s plunge into the delightful realm of fence cleaning!
Step 1: Clear the Battleground
Before we start scrubbing with the fervor of a spring-cleaning squirrel, it’s essential to remove any obstacles that might impede our progress. Relocate any plants, decorations, or mischievous garden gnomes away from the fence. This not only provides a clear path but also prevents any accidental damage to your beloved garden accessories.
A clear fence is a core pillar of your yard, so find out how to clean and organise your backyard!

Step 2: Pre-Rinse and Reconnaissance
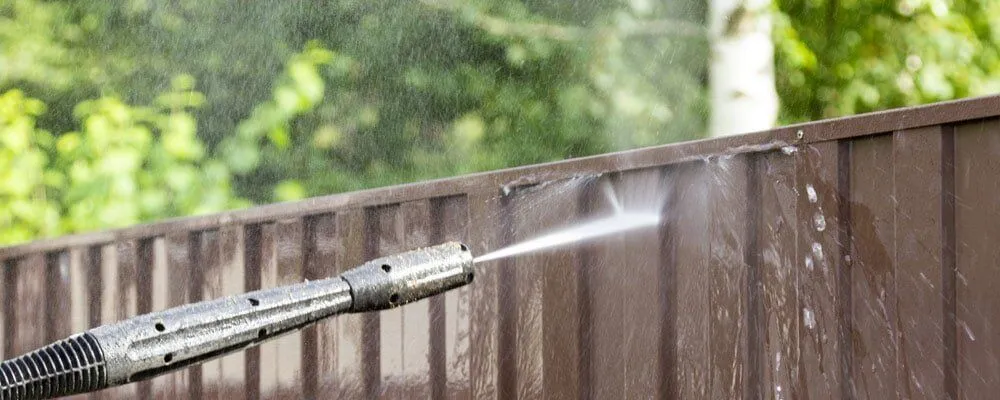
Armed with your water hose, give your fence a good pre-rinse. This washes away loose dirt and provides a clearer view of the task at hand. Take a moment to assess your fence’s condition. Is it merely dirty, or do you spot any mold, mildew, or stubborn stains? This reconnaissance will aid in devising your cleaning strategy.
Pro Tip: A preliminary rinse with warm water can help loosen tougher grime and prepare the surface for deeper cleaning.
Step 3: Concoct Your Cleaning Elixir
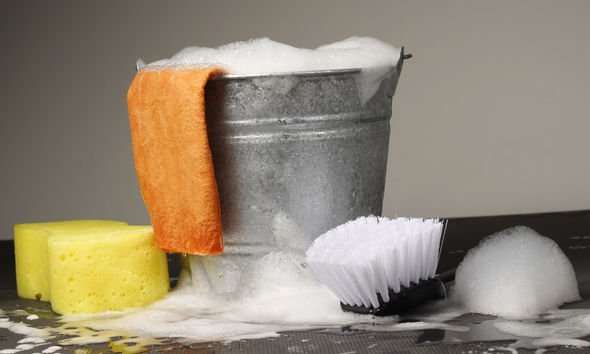
Now, it’s time to mix your magical cleaning potion. If using mild detergent, add a generous squirt into your bucket of warm water. For the eco-alchemists, a mixture of equal parts vinegar and water will do the trick. Stir it well and behold your bubbling brew of cleanliness!
Pro Tip: For an extra boost, add a few drops of essential oils like tea tree or lavender to your cleaning solution. Not only will they enhance the cleaning power, but they’ll also leave your fence smelling delightful.

Step 4: The Scrubbing Symphony
Here’s where the fun begins! Depending on the material of your fence, you’ll want to customize your scrubbing technique. Let’s break it down by material:
Wooden Fences
Dip your brush or sponge into the soapy solution and commence scrubbing in sections. Start at the top and work your way down, ensuring every inch receives the attention it deserves. For obstinate stains, allow the solution to sit for a few minutes before scrubbing again. Wooden fences love a gentle touch, so avoid too much pressure to prevent damaging the wood.
Pro Tip: Use a toothbrush for those hard-to-reach nooks and crannies in your wooden fence.
Vinyl Fences
Vinyl fences are like the divas of the fence world—they look pristine but need a bit of TLC to keep shining. Use your soapy solution and a soft cloth or sponge to clean in circular motions. For stubborn spots, a non-abrasive cleaner specifically designed for vinyl can be a lifesaver. Vinyl fences don’t appreciate harsh chemicals or rough scrubbing, so be gentle!
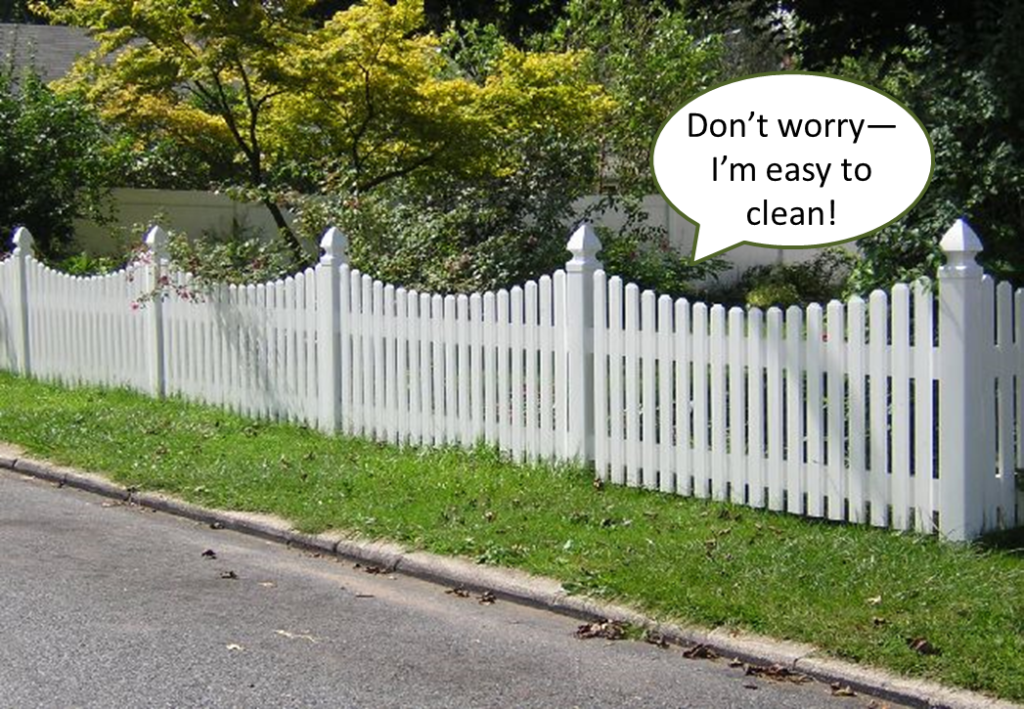
Pro Tip: A little baking soda on a damp sponge can work wonders on tough vinyl stains without causing damage.
Metal Fences
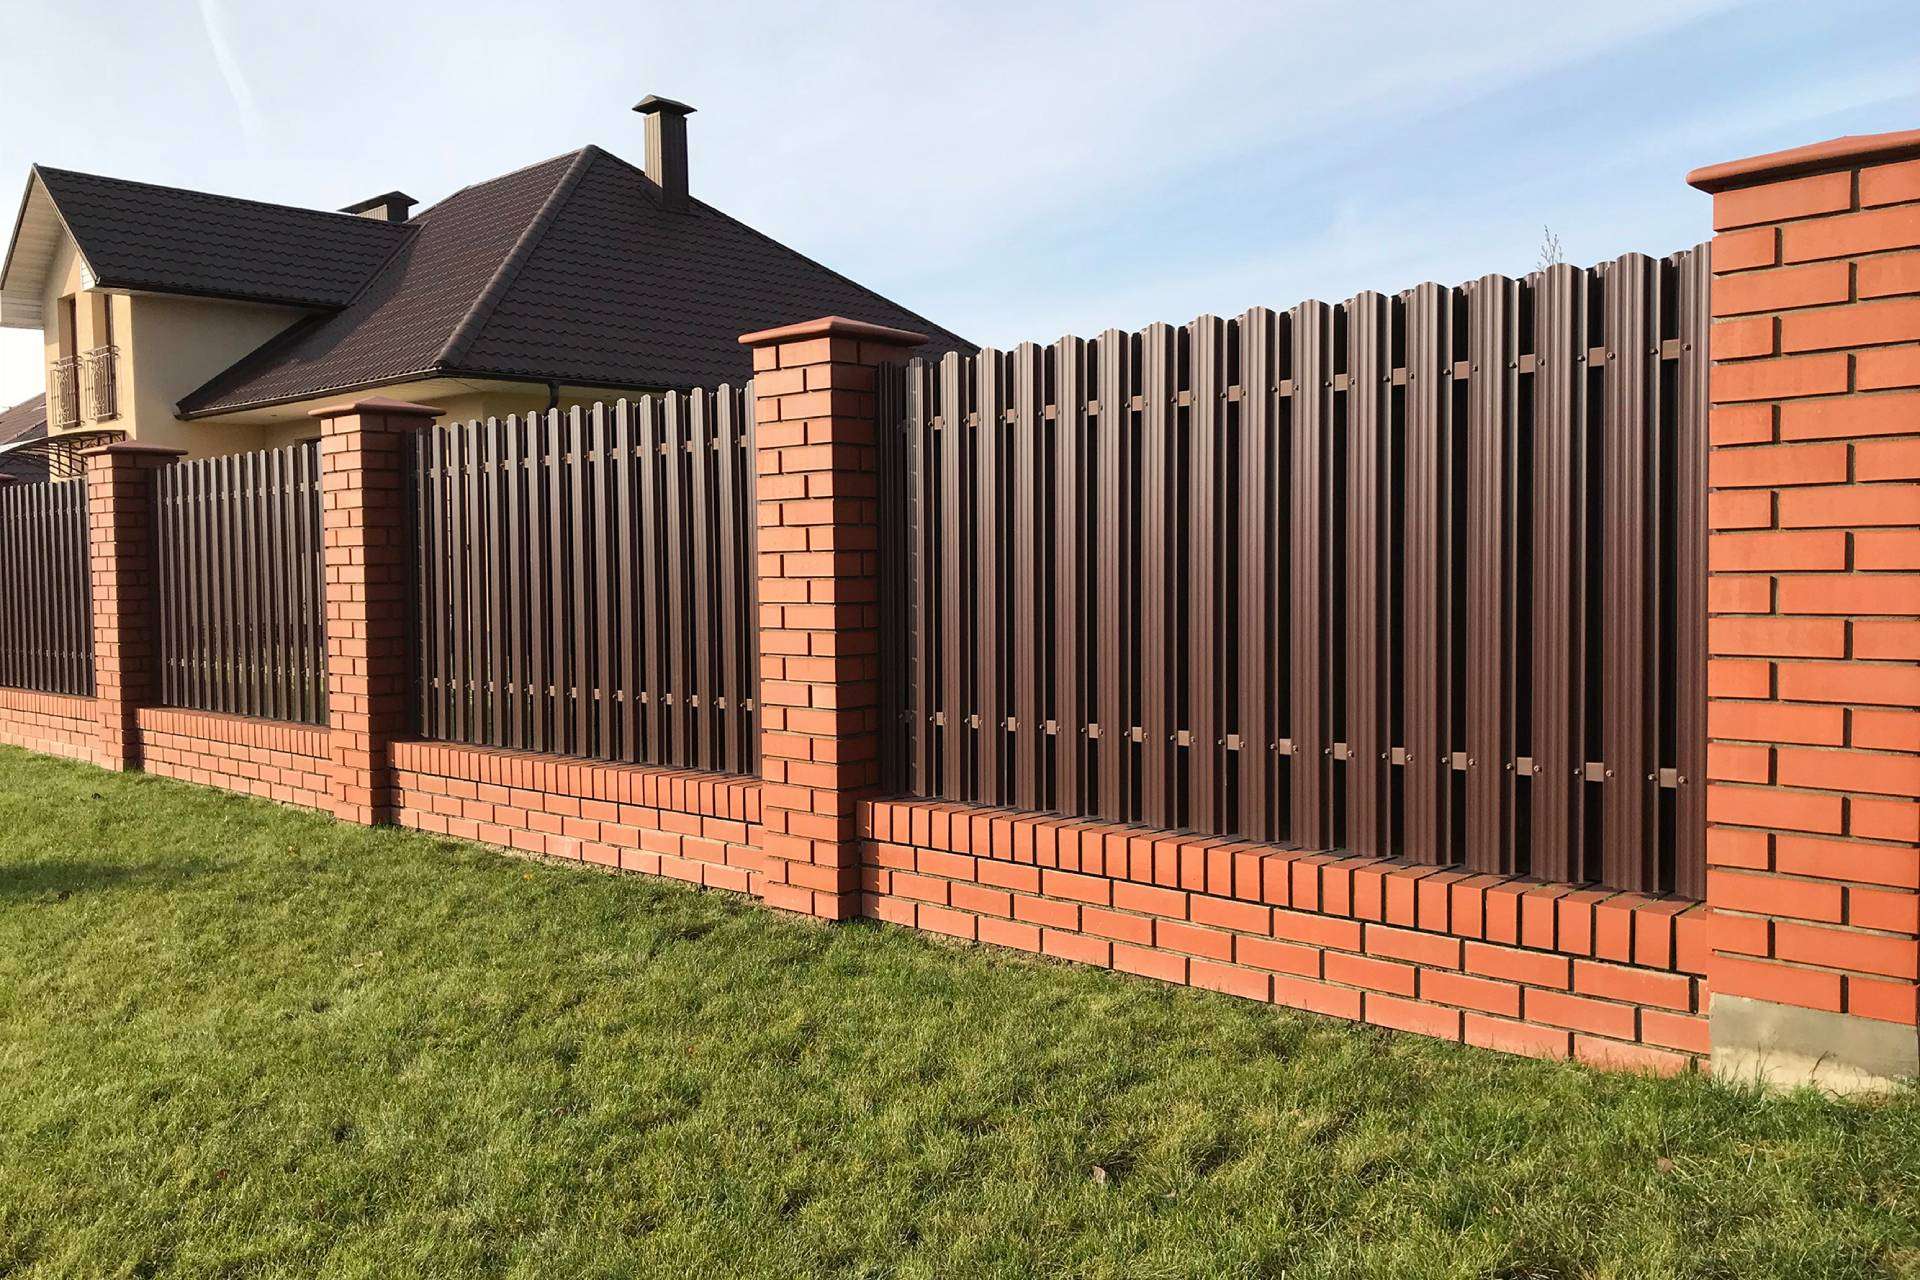
Metal fences, the stalwart guardians of your yard, can handle a bit more muscle. Use a wire brush for rust spots and your soapy solution for general grime. If you encounter rust, a bit of vinegar or a rust remover can work wonders. After scrubbing, a rinse with a hose or pressure washer will leave your metal fence gleaming like a knight’s armor.

Pro Tip: To prevent future rusting, apply a thin coat of rust-resistant paint or sealant after cleaning.
Composite Fences
Composite fences combine the best of wood and plastic, requiring a balanced approach. Use a soft brush and your soapy solution, scrubbing in sections from top to bottom. For stubborn stains, a little baking soda mixed with water can add extra cleaning power. Avoid harsh chemicals that could damage the composite material.
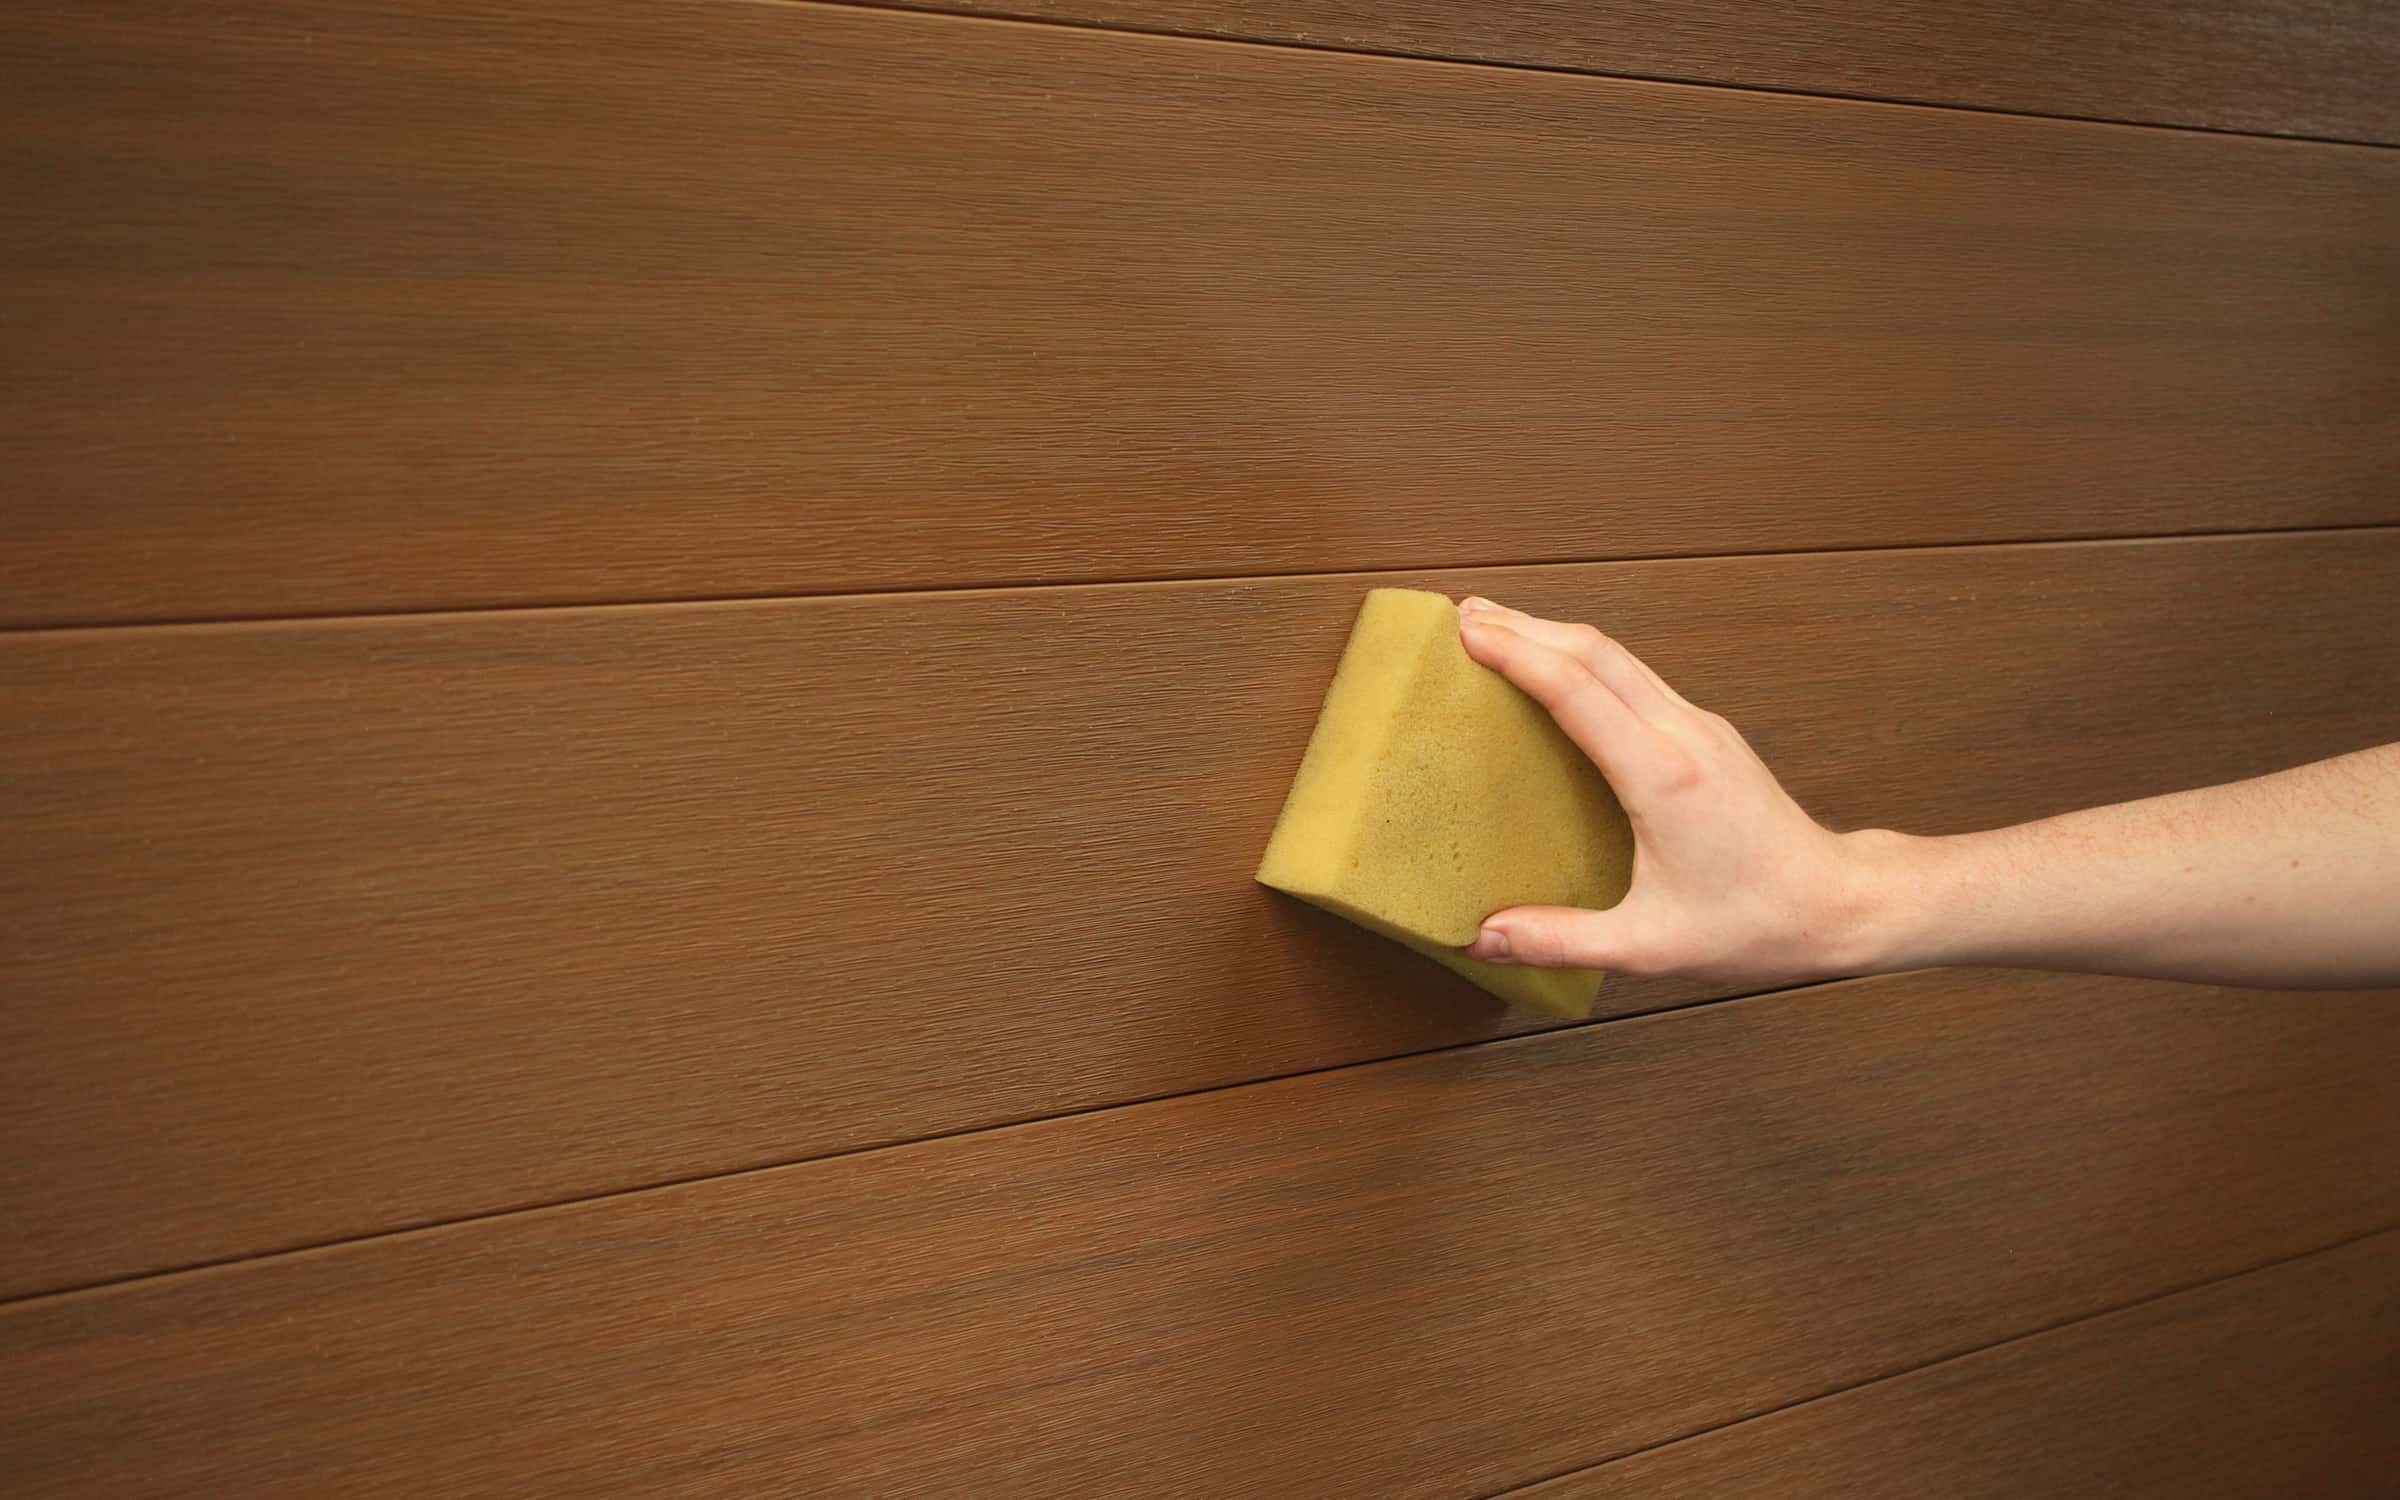
Pro Tip: A soft brush attachment on a cordless drill can make scrubbing composite fences a breeze.
Step 5: Rinse and Marvel
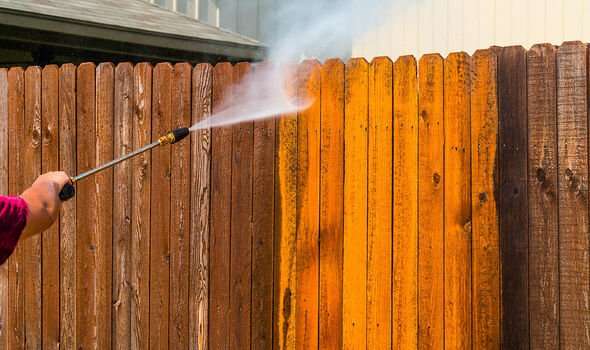
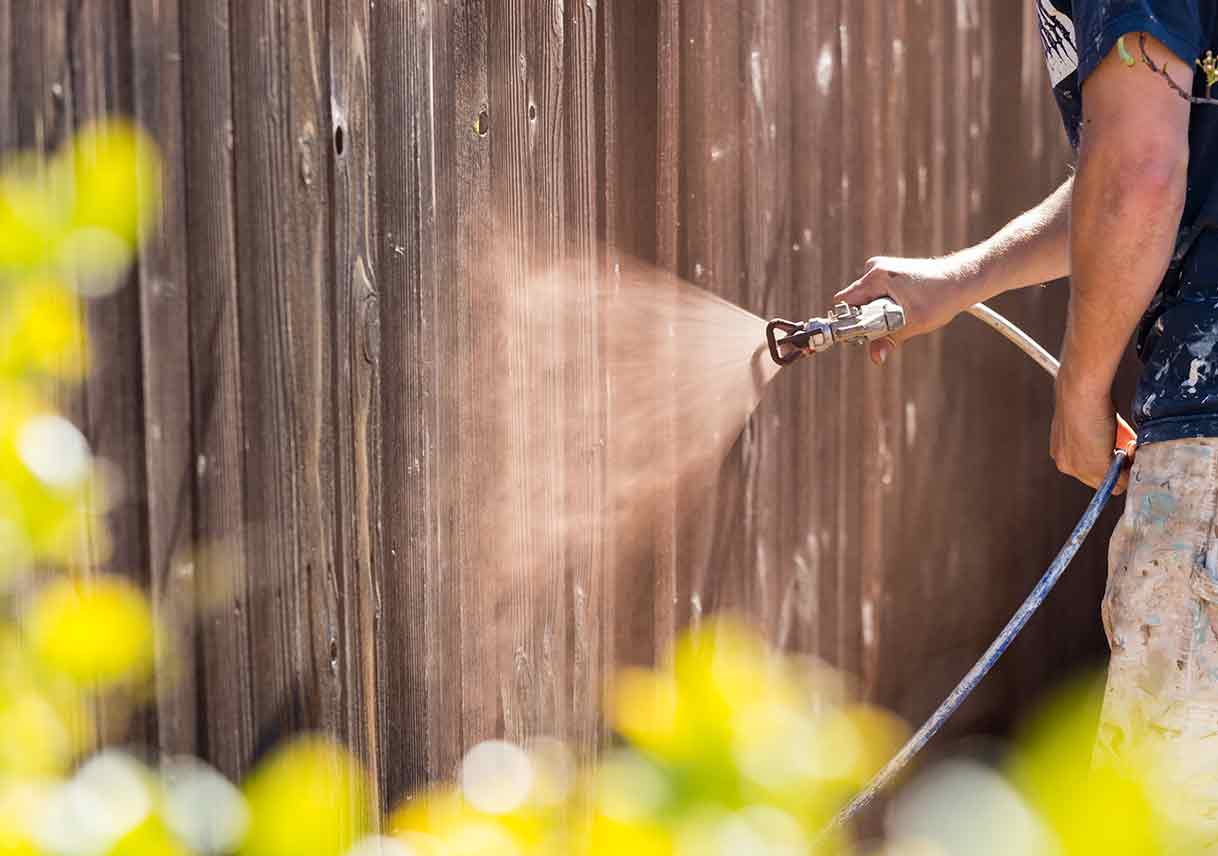
Once you’ve scrubbed to your heart’s content, it’s time to rinse off the suds. Use your hose (or pressure washer if you’re feeling particularly grand) to wash away the soap, grime, and remnants of your hard work. Step back and admire your sparkling clean fence. Bask in the glory of your achievement, you fence-cleaning virtuoso!
Pro Tip: For an extra shine, give your fence a final rinse with distilled water to prevent mineral deposits from forming.
Step 6: Final Flourishes
For wooden fences, consider applying a protective sealant to maintain your fence’s fabulous appearance for longer. This adds an extra layer of defense against the elements. For metal fences, a quick inspection for rust and a touch-up with rust-resistant paint can work wonders. Vinyl and composite fences, while lower maintenance, appreciate a periodic check for any spots that might need a bit more attention.
Cleaning your fence need not be a mundane chore. With a pinch of preparation, a dash of determination, and a sprinkle of whimsy, you can transform it into a delightful and rewarding experience. So go forth, my dear fence enthusiasts, and let your fences shine like the beacons of beauty they were destined to be!
Remember, a clean fence is a happy fence. Until next time, keep scrubbing and smiling!


