Blog

The Great Grease Showdown: How Coca-Cola, Vinegar, and Baking Soda Transform Your Pans from Grimy to Gleamy!

The Great Grease Showdown: How Coca-Cola, Vinegar, and Baking Soda Transform Your Pans from Grimy to Gleamy!

Ah, the grease pan. The unsung gladiator of your kitchen—taking splash after splash of sizzling oil, defending you from the chaos of culinary explosions. But when the battle’s over, who’s there to rescue this brave kitchen warrior from a fate worse than burnt? Enter our champions: Coca-Cola, vinegar, and baking soda—the kitchen Avengers you never knew you needed. Put on your cape (or apron) and let’s transform these grease-laden pans back into shining soldiers ready for another round!

1. Cast Iron Grease Pan—The Stubborn Rock Star of the Kitchen

Ah, the cast iron—your kitchen’s version of a heavy-metal rock star. Sure, it’s tough, but even rock stars need a spa day after a grueling performance. And that’s where Coca-Cola, baking soda, and vinegar come in like a backstage pampering crew. Let’s get that cast iron cleaned up without losing its seasoning magic.

  • Step 1: While the pan is still warm—like a diva soaking up the last applause—scrape off as much grease as you can.

  • Step 2: Pour in a splash of Coca-Cola. That fizzy little elixir isn’t just for happy hour; it’s a grease-busting legend. Let it do its thing for a few minutes while you hum a tune.

  • Step 3: Get in there with a soft sponge or paper towel. You’ll feel the grease waving the white flag as the cola fizzes it into oblivion.

  • Step 4: Rinse with warm water (like a rock star’s cool-down shower) and finish with a light rub of oil. Don’t over-soak! Cast iron doesn’t appreciate long baths—it’s more of a “quick splash and go” kind of cookware.
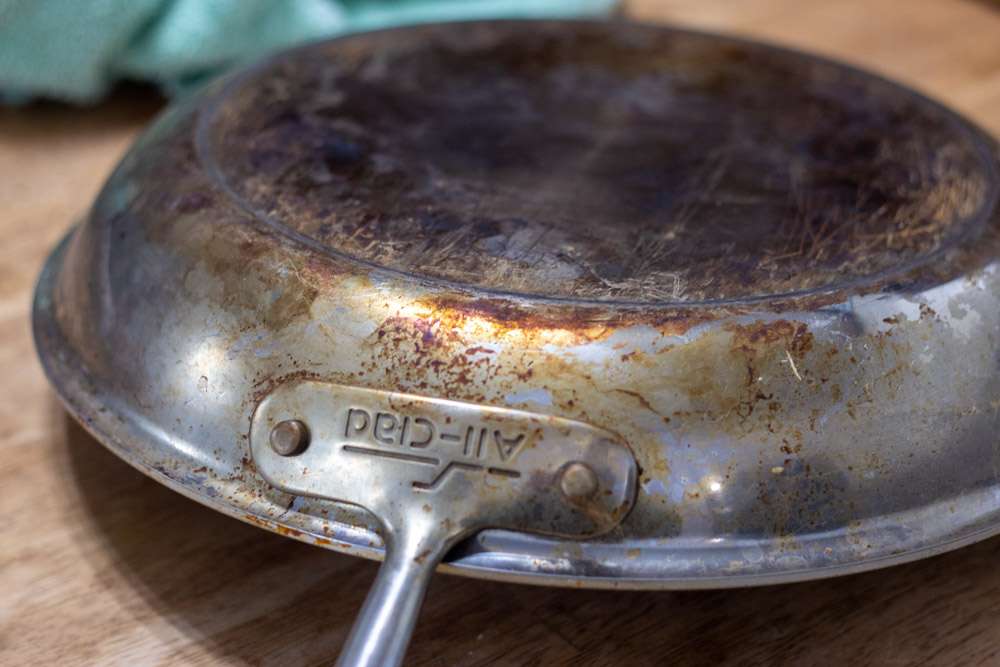
2. Aluminum Grease Pan—Lightweight Fighter, Heavyweight Grease Magnet

Aluminum pans are like that dependable friend who’s always there when you need them—light, reliable, but grease? Grease loves aluminum like moths love flame. Time to call in the big guns: baking soda and vinegar, the dynamic duo!

  • Step 1: Sprinkle baking soda all over that greasy mess like it’s confetti at a surprise party.

  • Step 2: Now, splash in some vinegar. Watch the fizz! It’s like a mini science experiment happening right in your kitchen—grease is cowering in fear as the soda and vinegar combo fizzes into action.
  • Step 3: Let the reaction party for about 10 minutes. Now scrub gently with a sponge while the grease slinks away.
  • Step 4: Rinse and repeat (like your favorite Netflix series) if any stubborn spots remain.

Read more: How to clean aluminium
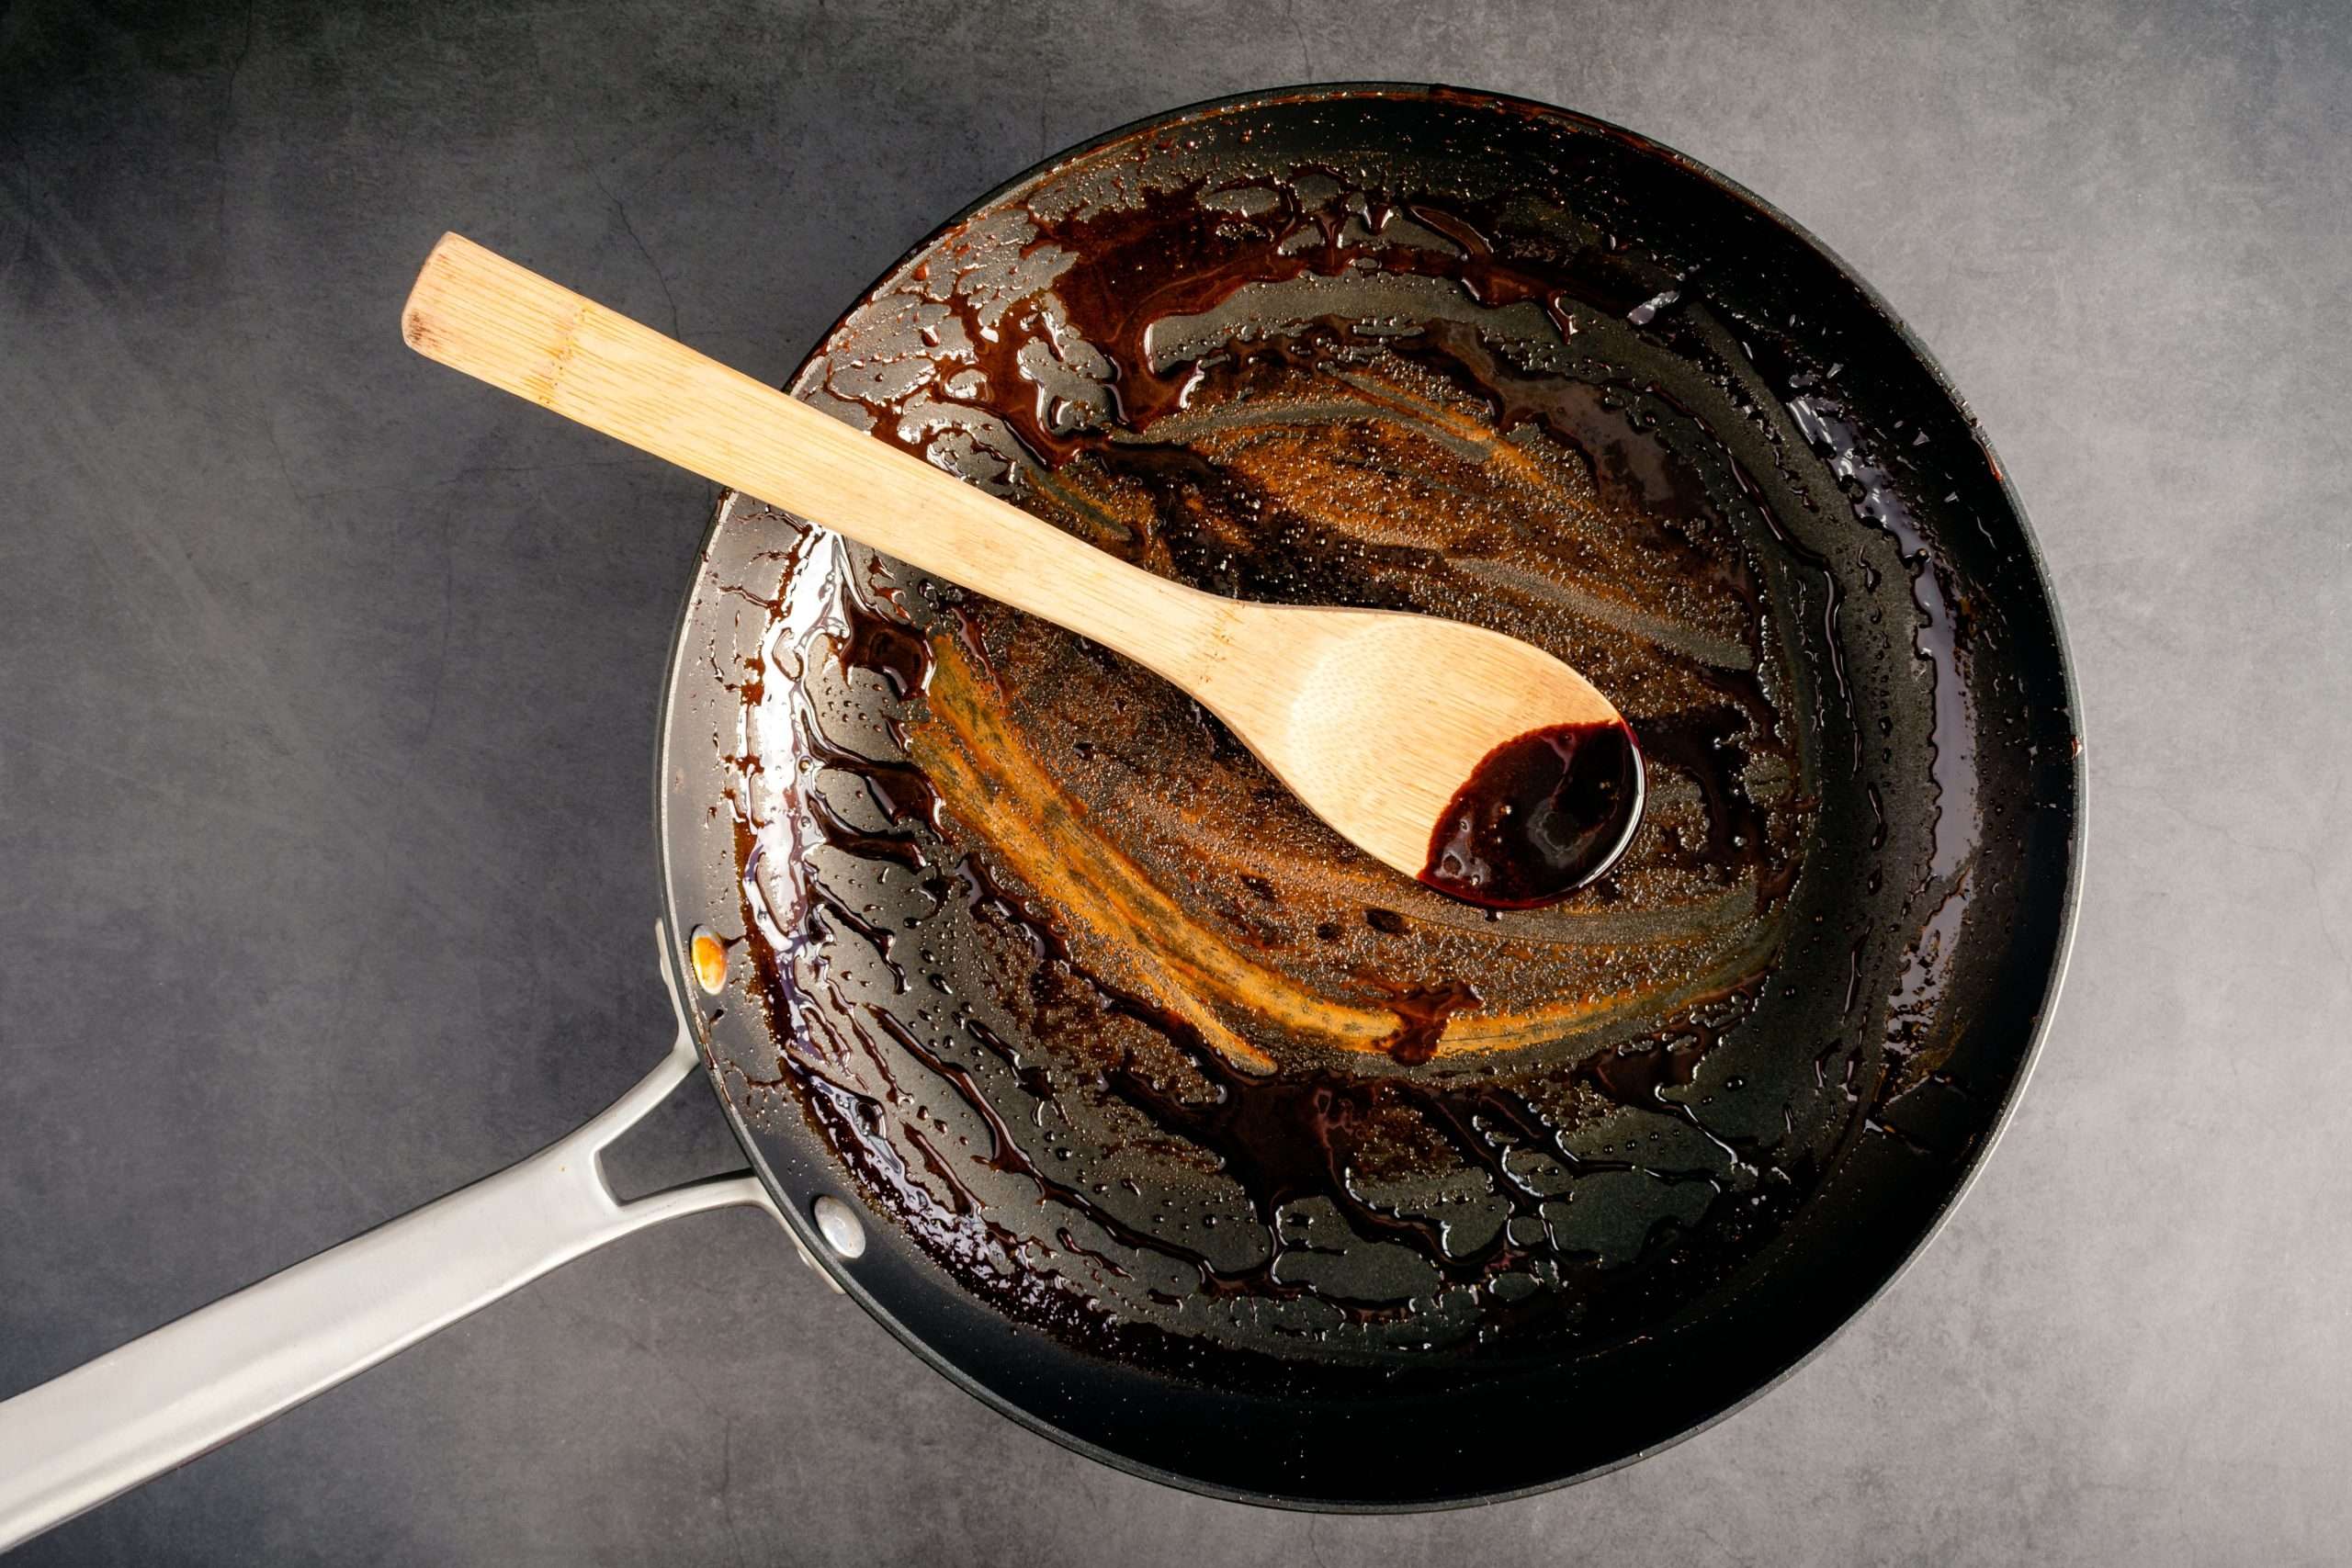
3. Non-Stick Grease Pan—Slick Performer, But Not Invincible

Non-stick pans are like the smooth-talking charmers of the kitchen—everything slides off them… except grease. The key is gentle persuasion, not brute force. So, let’s keep things smooth.

  • Step 1: Pour a small amount of Coca-Cola into the pan, just enough to cover the base. Let the magic bubbles get to work for 5 minutes.

  • Step 2: With a soft sponge, give it a gentle scrub. The grease is no match for this dynamic duo, and your non-stick coating will stay as smooth as butter (pun intended).
  • Step 3: Rinse with warm water and dry it off. Non-stick pan = happy pan!
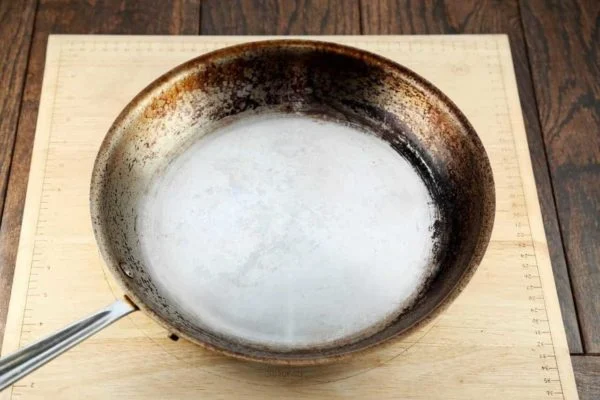
4. Stainless Steel Grease Pan—The Sturdy Warrior That Loves a Good Shine

Stainless steel pans are like that over-enthusiastic guest who lingers a little too long—sometimes grease sticks around just as awkwardly. Time to shine this baby up with a mix of vinegar, baking soda, and a dash of patience.

  • Step 1: Pour some vinegar into the pan and let it simmer on the stove like a slow burn thriller.

  • Step 2: Take it off the heat, sprinkle in baking soda, and sit back as a fizz-tacular reaction lifts the grease away like a magic trick!
  • Step 3: Scrub with a soft sponge and rinse with warm water. Feel the gleam? Stainless steel loves to shine—just give it a microfiber cloth rub-down for that extra sparkle.
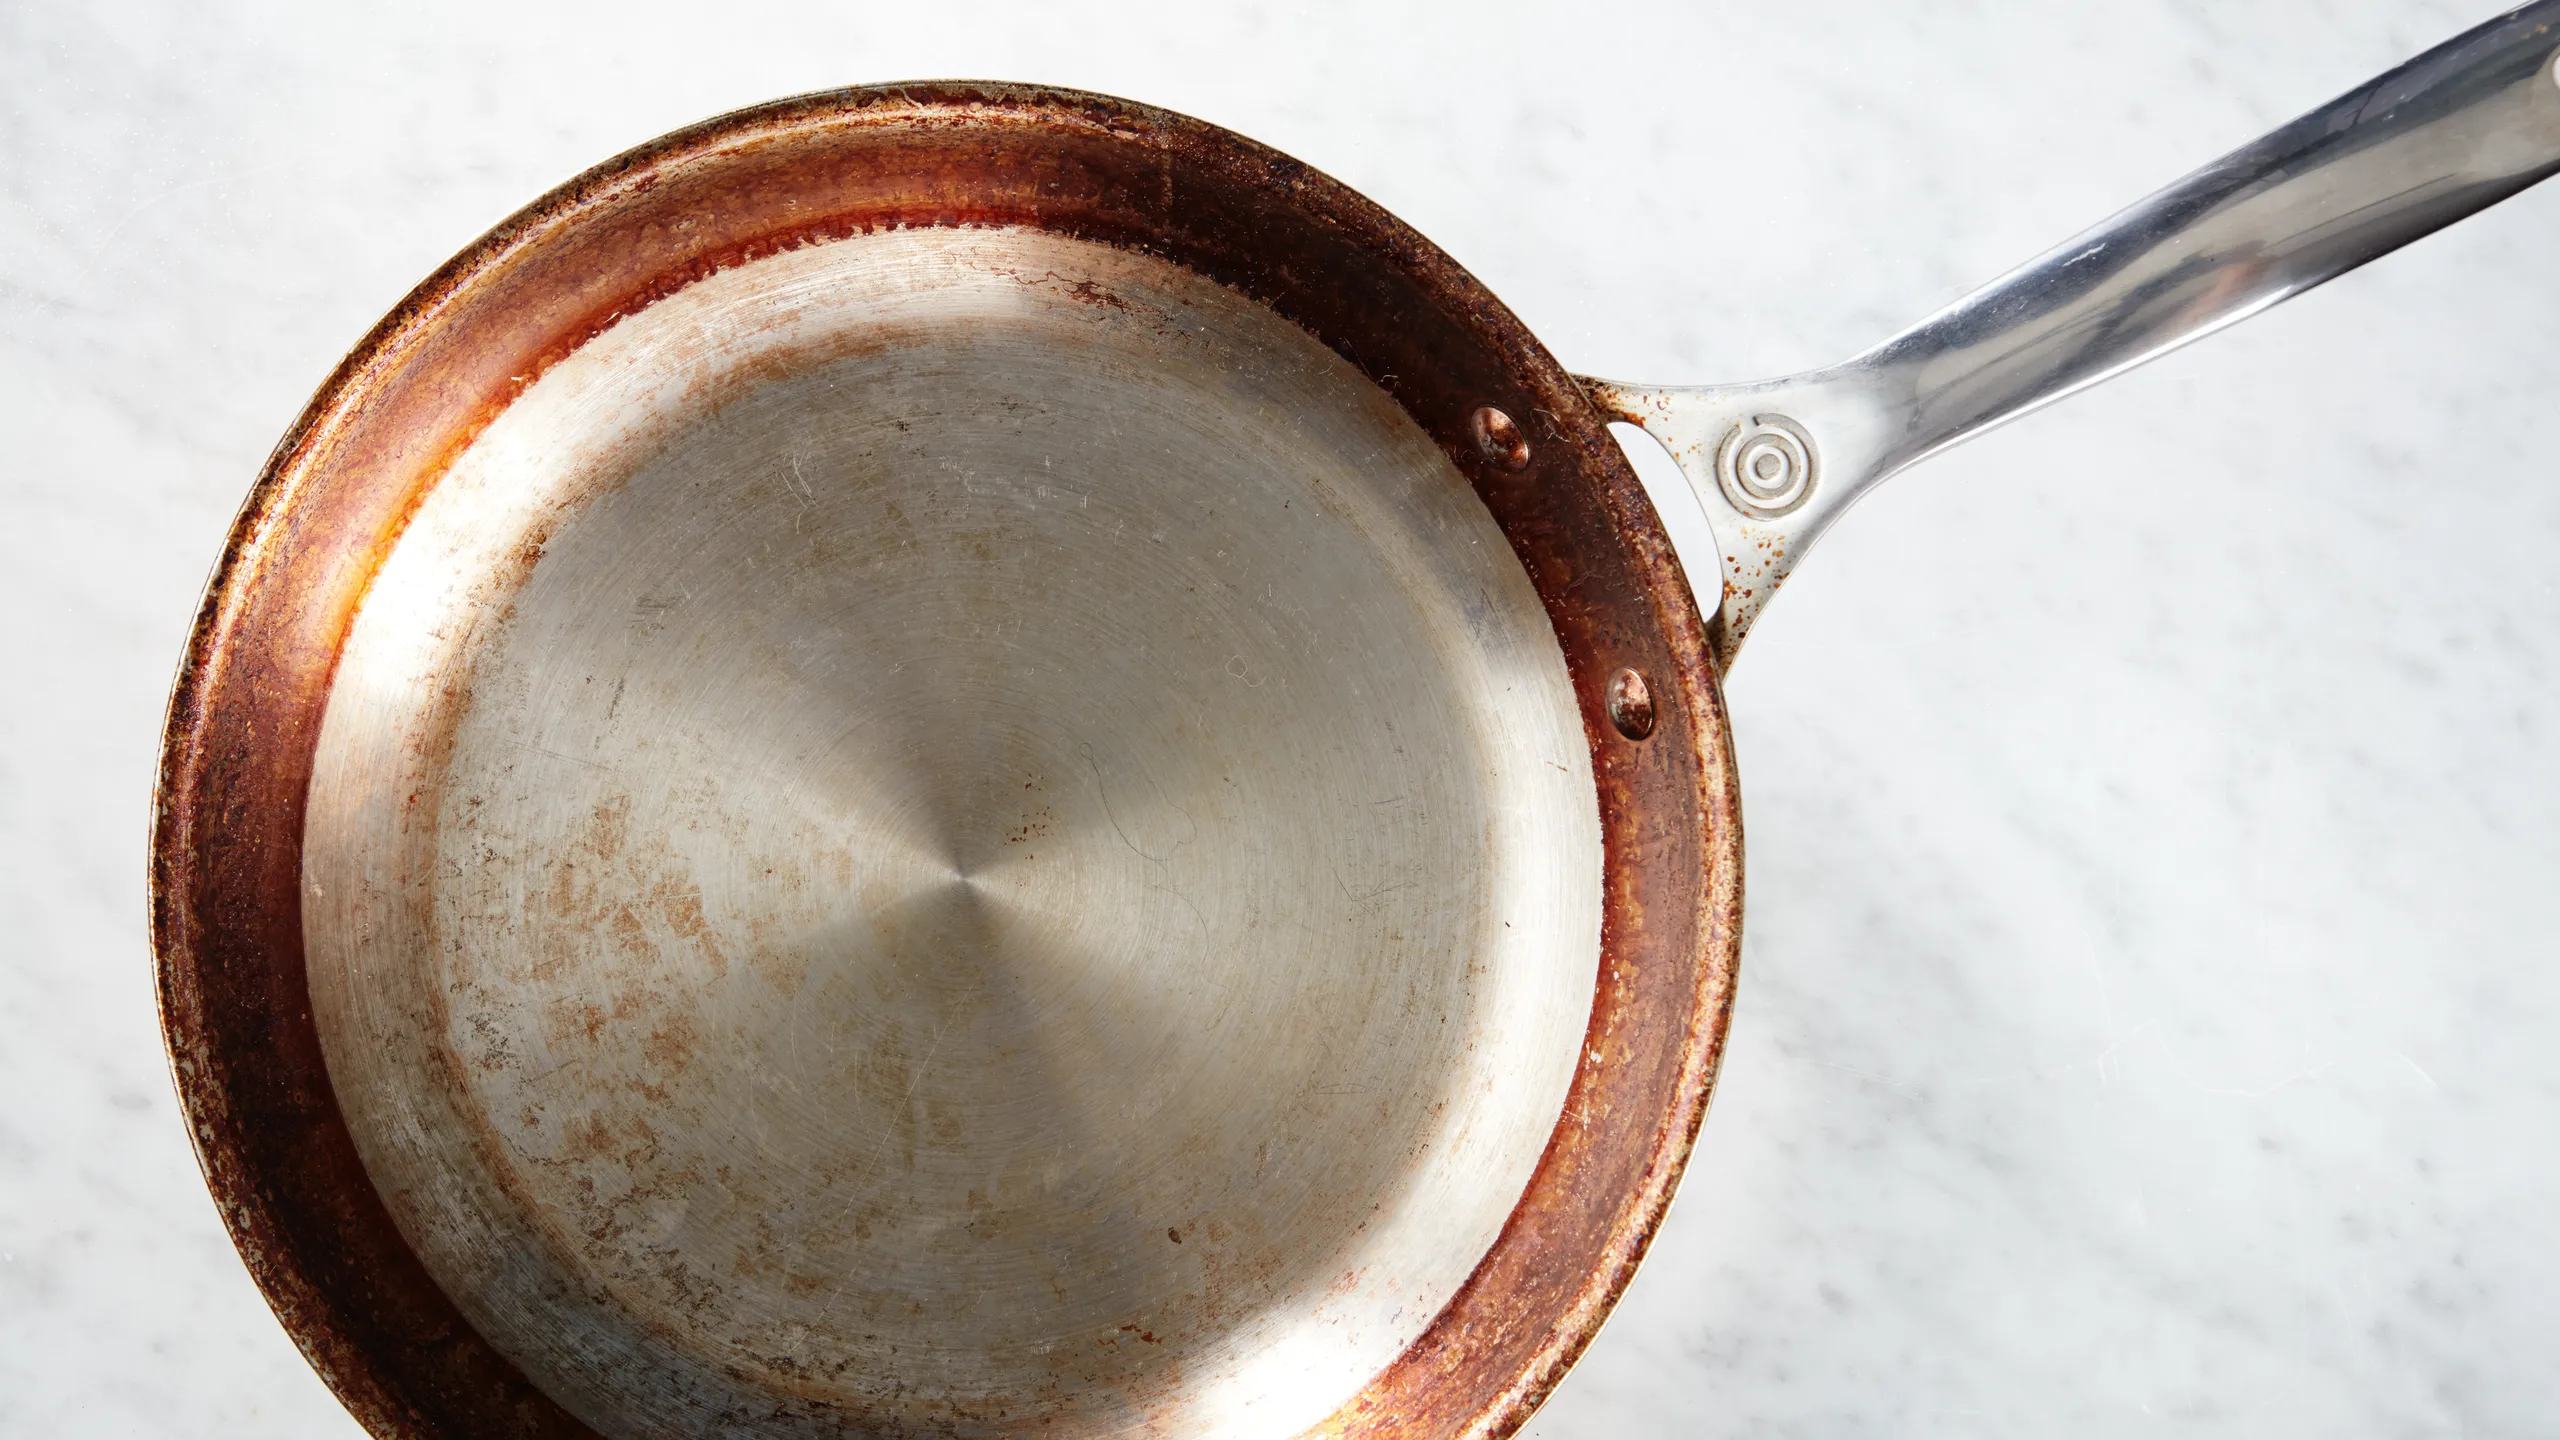
5. Copper Grease Pan — The Dazzling Yet High-Maintenance Star

Ah, the copper pan—like the flashy sports car of your kitchen. Gorgeous to look at, but boy does it need attention! Grease can dull its shine, and if you’re not careful, your beloved copper cookware can go from dazzling to drab. But don’t worry, vinegar and baking soda are here to restore that luxurious glow without a fuss.

  • Step 1: Start by sprinkling baking soda over the greasy surface of your copper pan, like a fairy dusting it with magic powder.

  • Step 2: Add a gentle splash of vinegar and watch the fizzing reaction work like a charm. The acidity of the vinegar will lift the grease without tarnishing the copper’s shine.
  • Step 3: Let it sit for 10 minutes, then gently scrub with a soft sponge. Be extra careful—copper is delicate, and we don’t want any scratches on that beauty!
  • Step 4: Rinse thoroughly with warm water and dry with a soft cloth. Your copper pan will gleam like it’s ready for the red carpet again.

Read more: How to Clean Copper Pans and Make Them Look Brand New

You’ve now got the inside scoop on the grease-busting trifecta—Coca-Cola, vinegar, and baking soda—the unexpected heroes of the kitchen world. They’ll tackle your toughest grease with a grin and leave your pans looking as fresh as the day they came out of the box. And the best part? No harsh chemicals, just pantry magic!

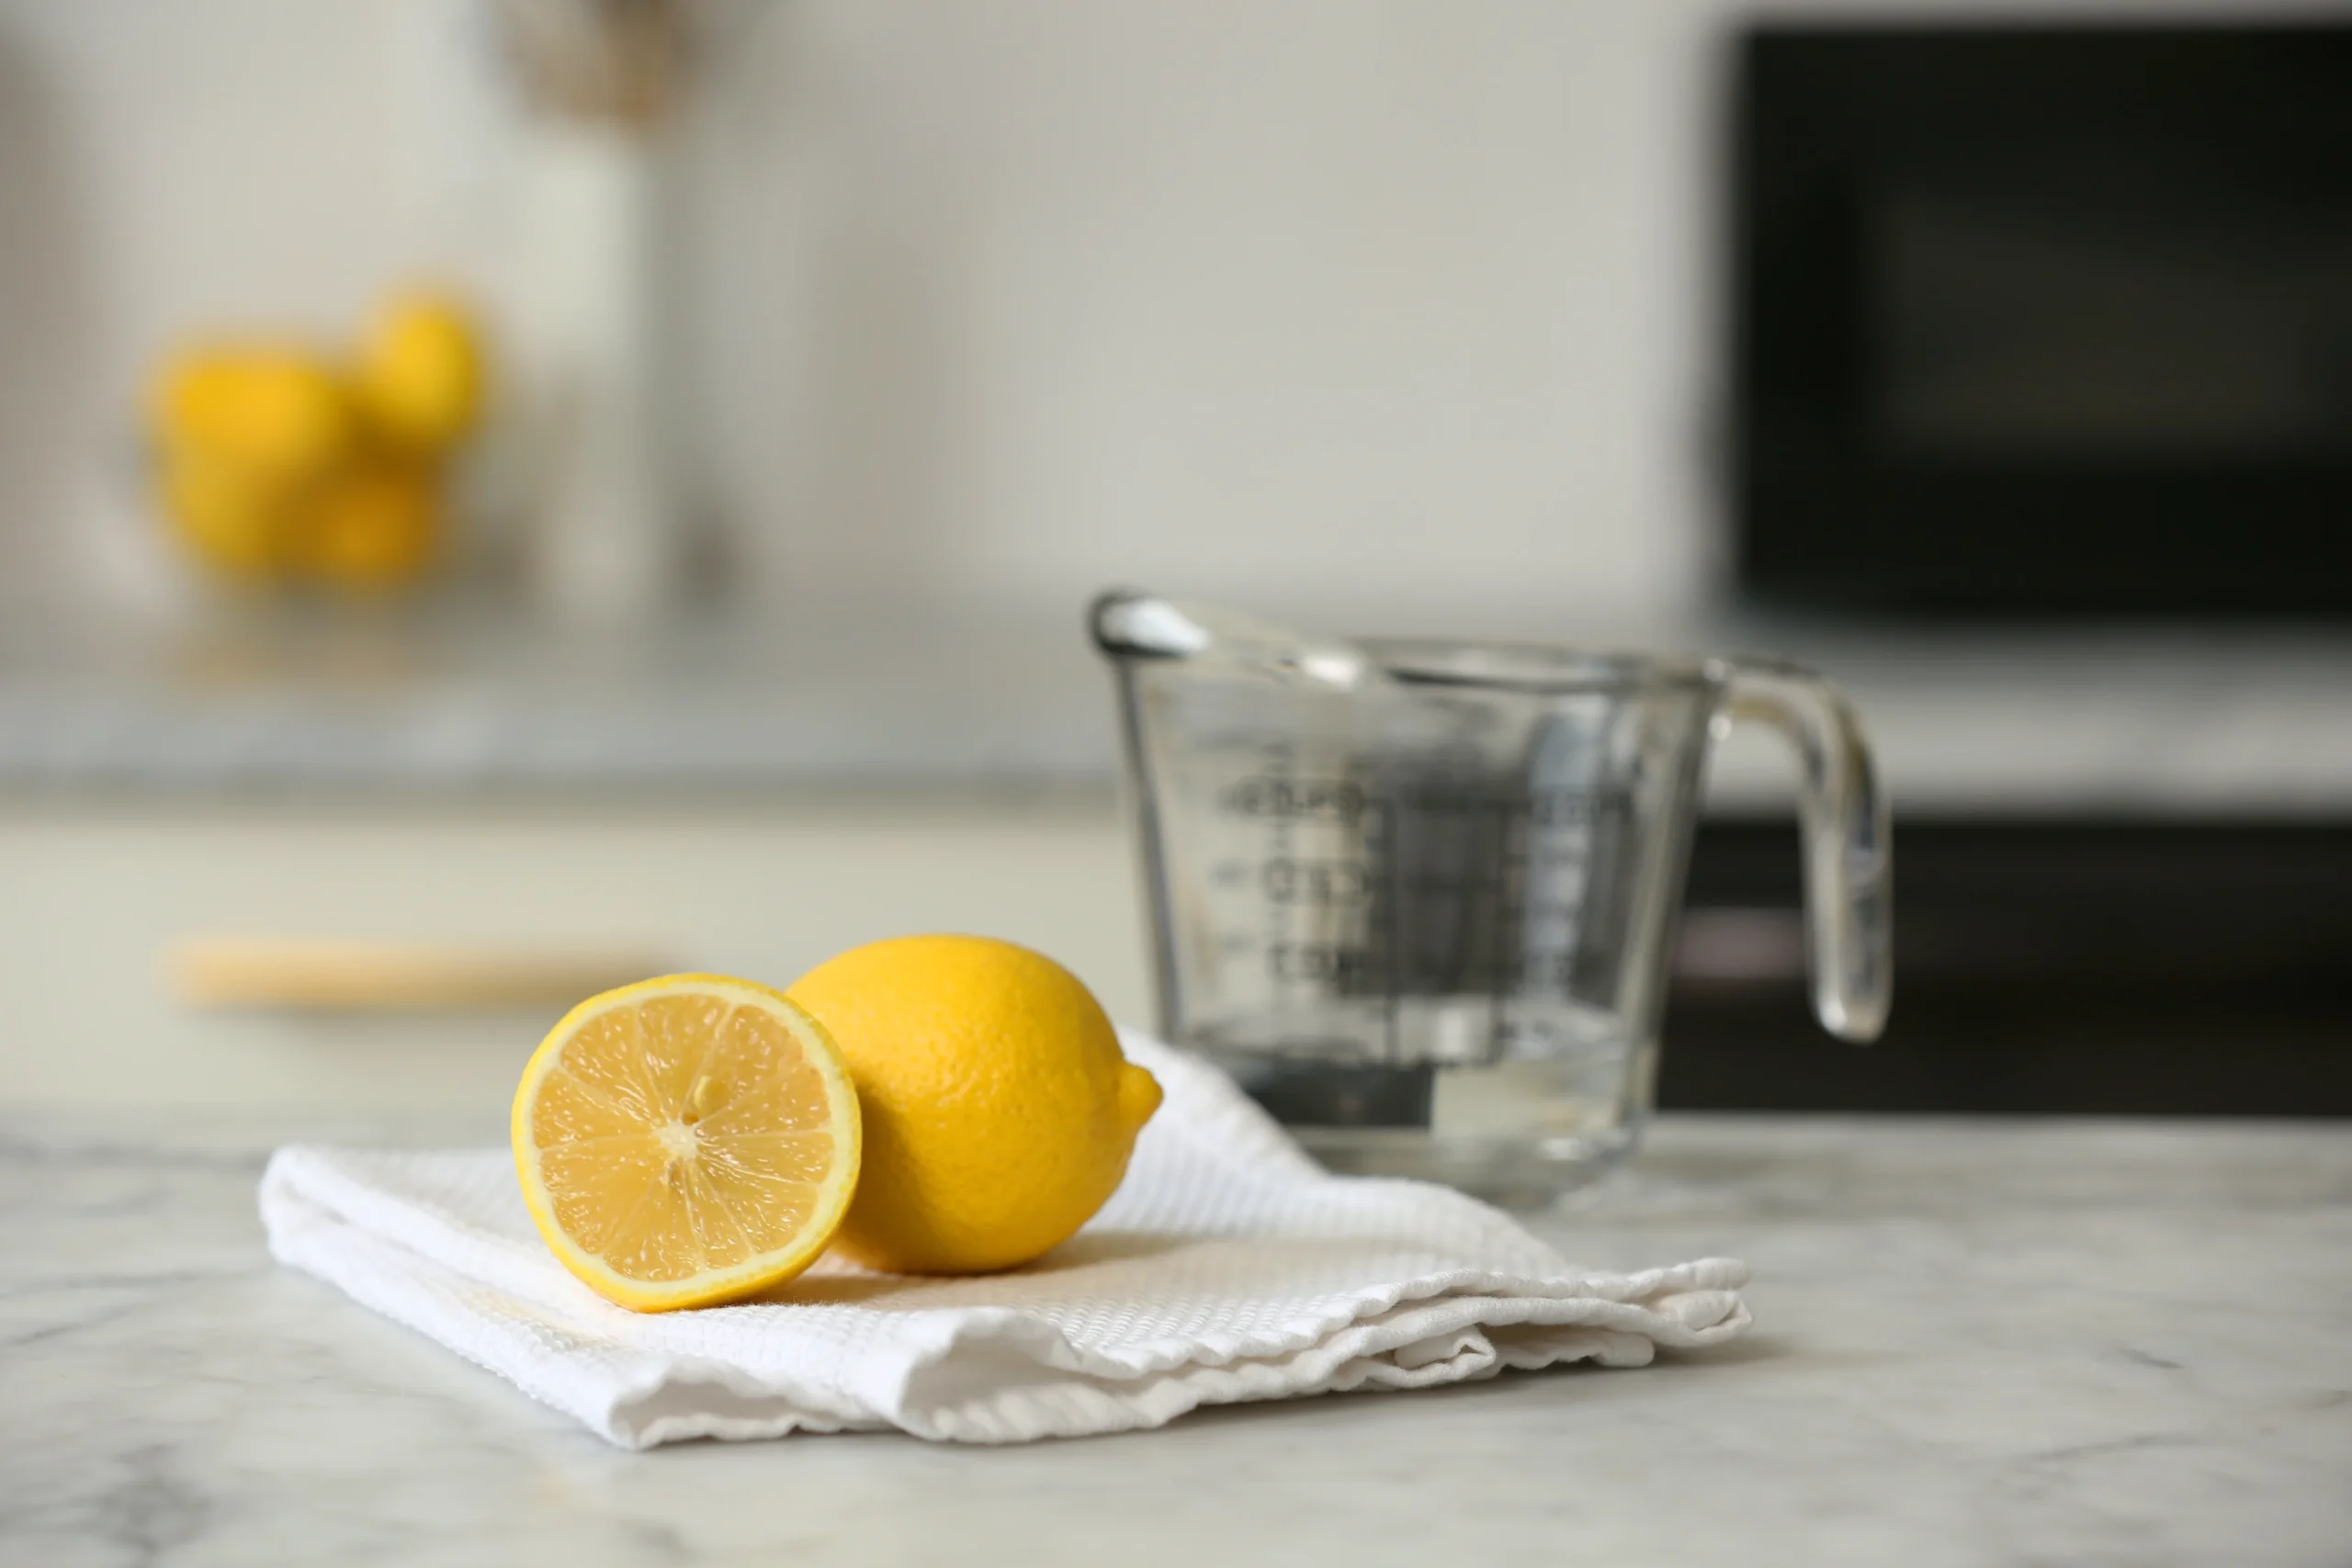
How to Clean Your Microwave Naturally with 3 Magic Ingredients: Lemon, Baking Soda and Vinegar

How to Clean Your Microwave Naturally with 3 Magic Ingredients: Lemon, Baking Soda and Vinegar

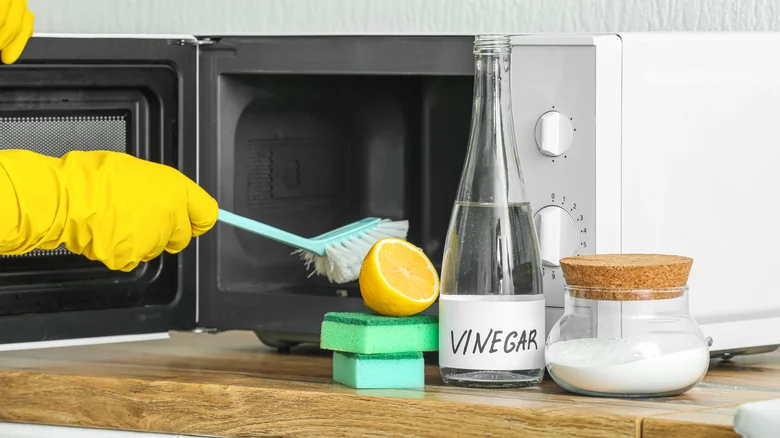
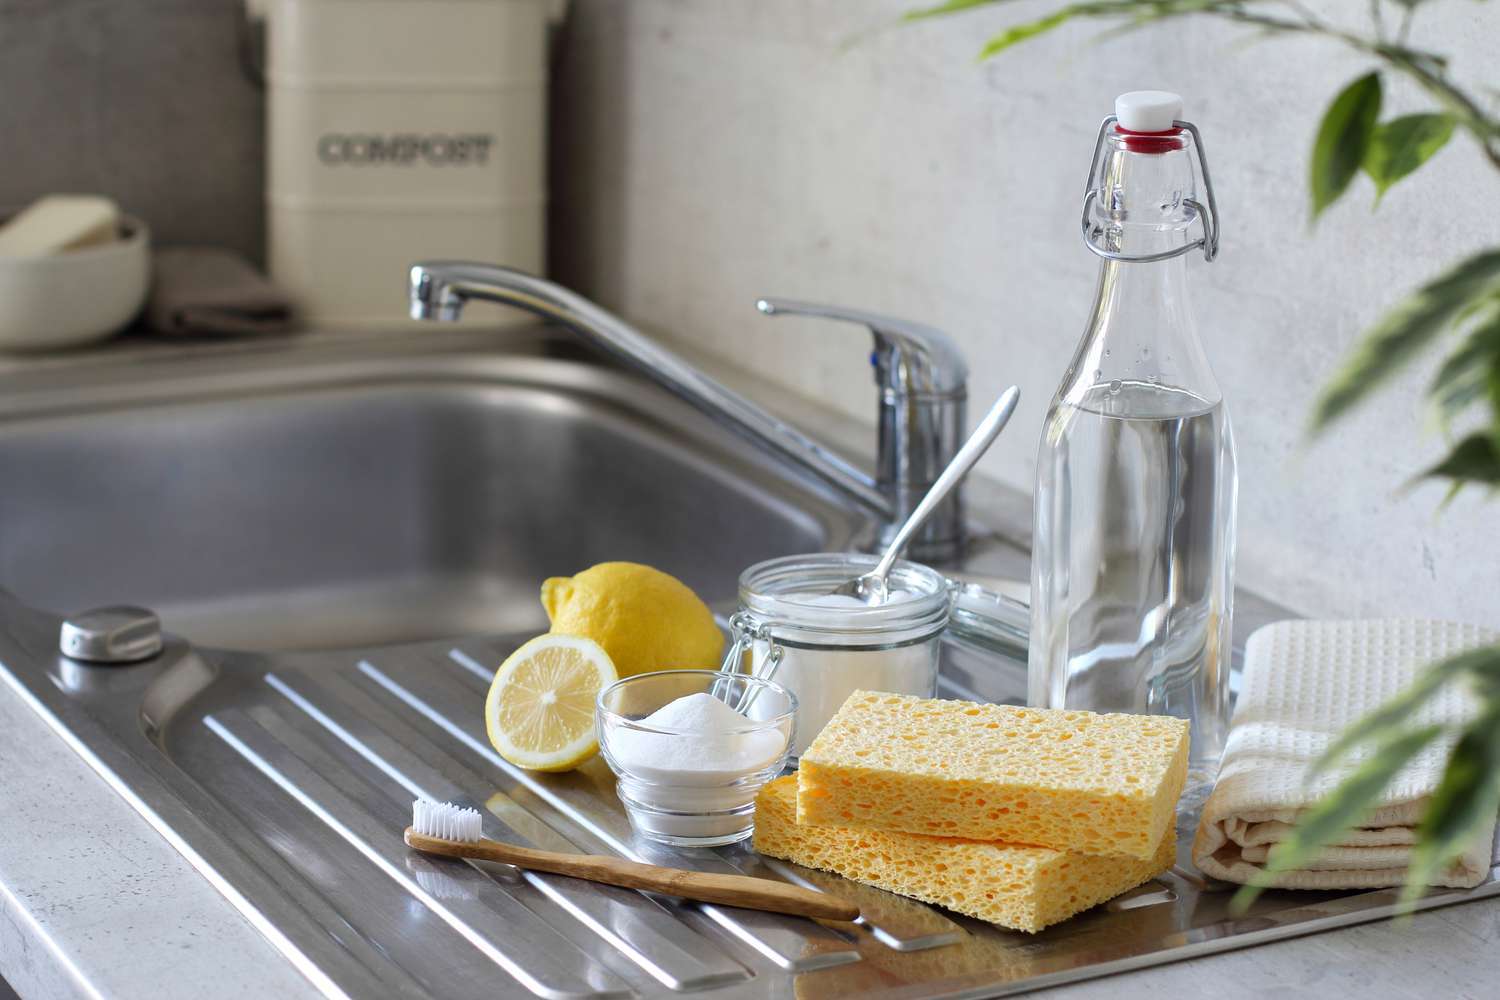
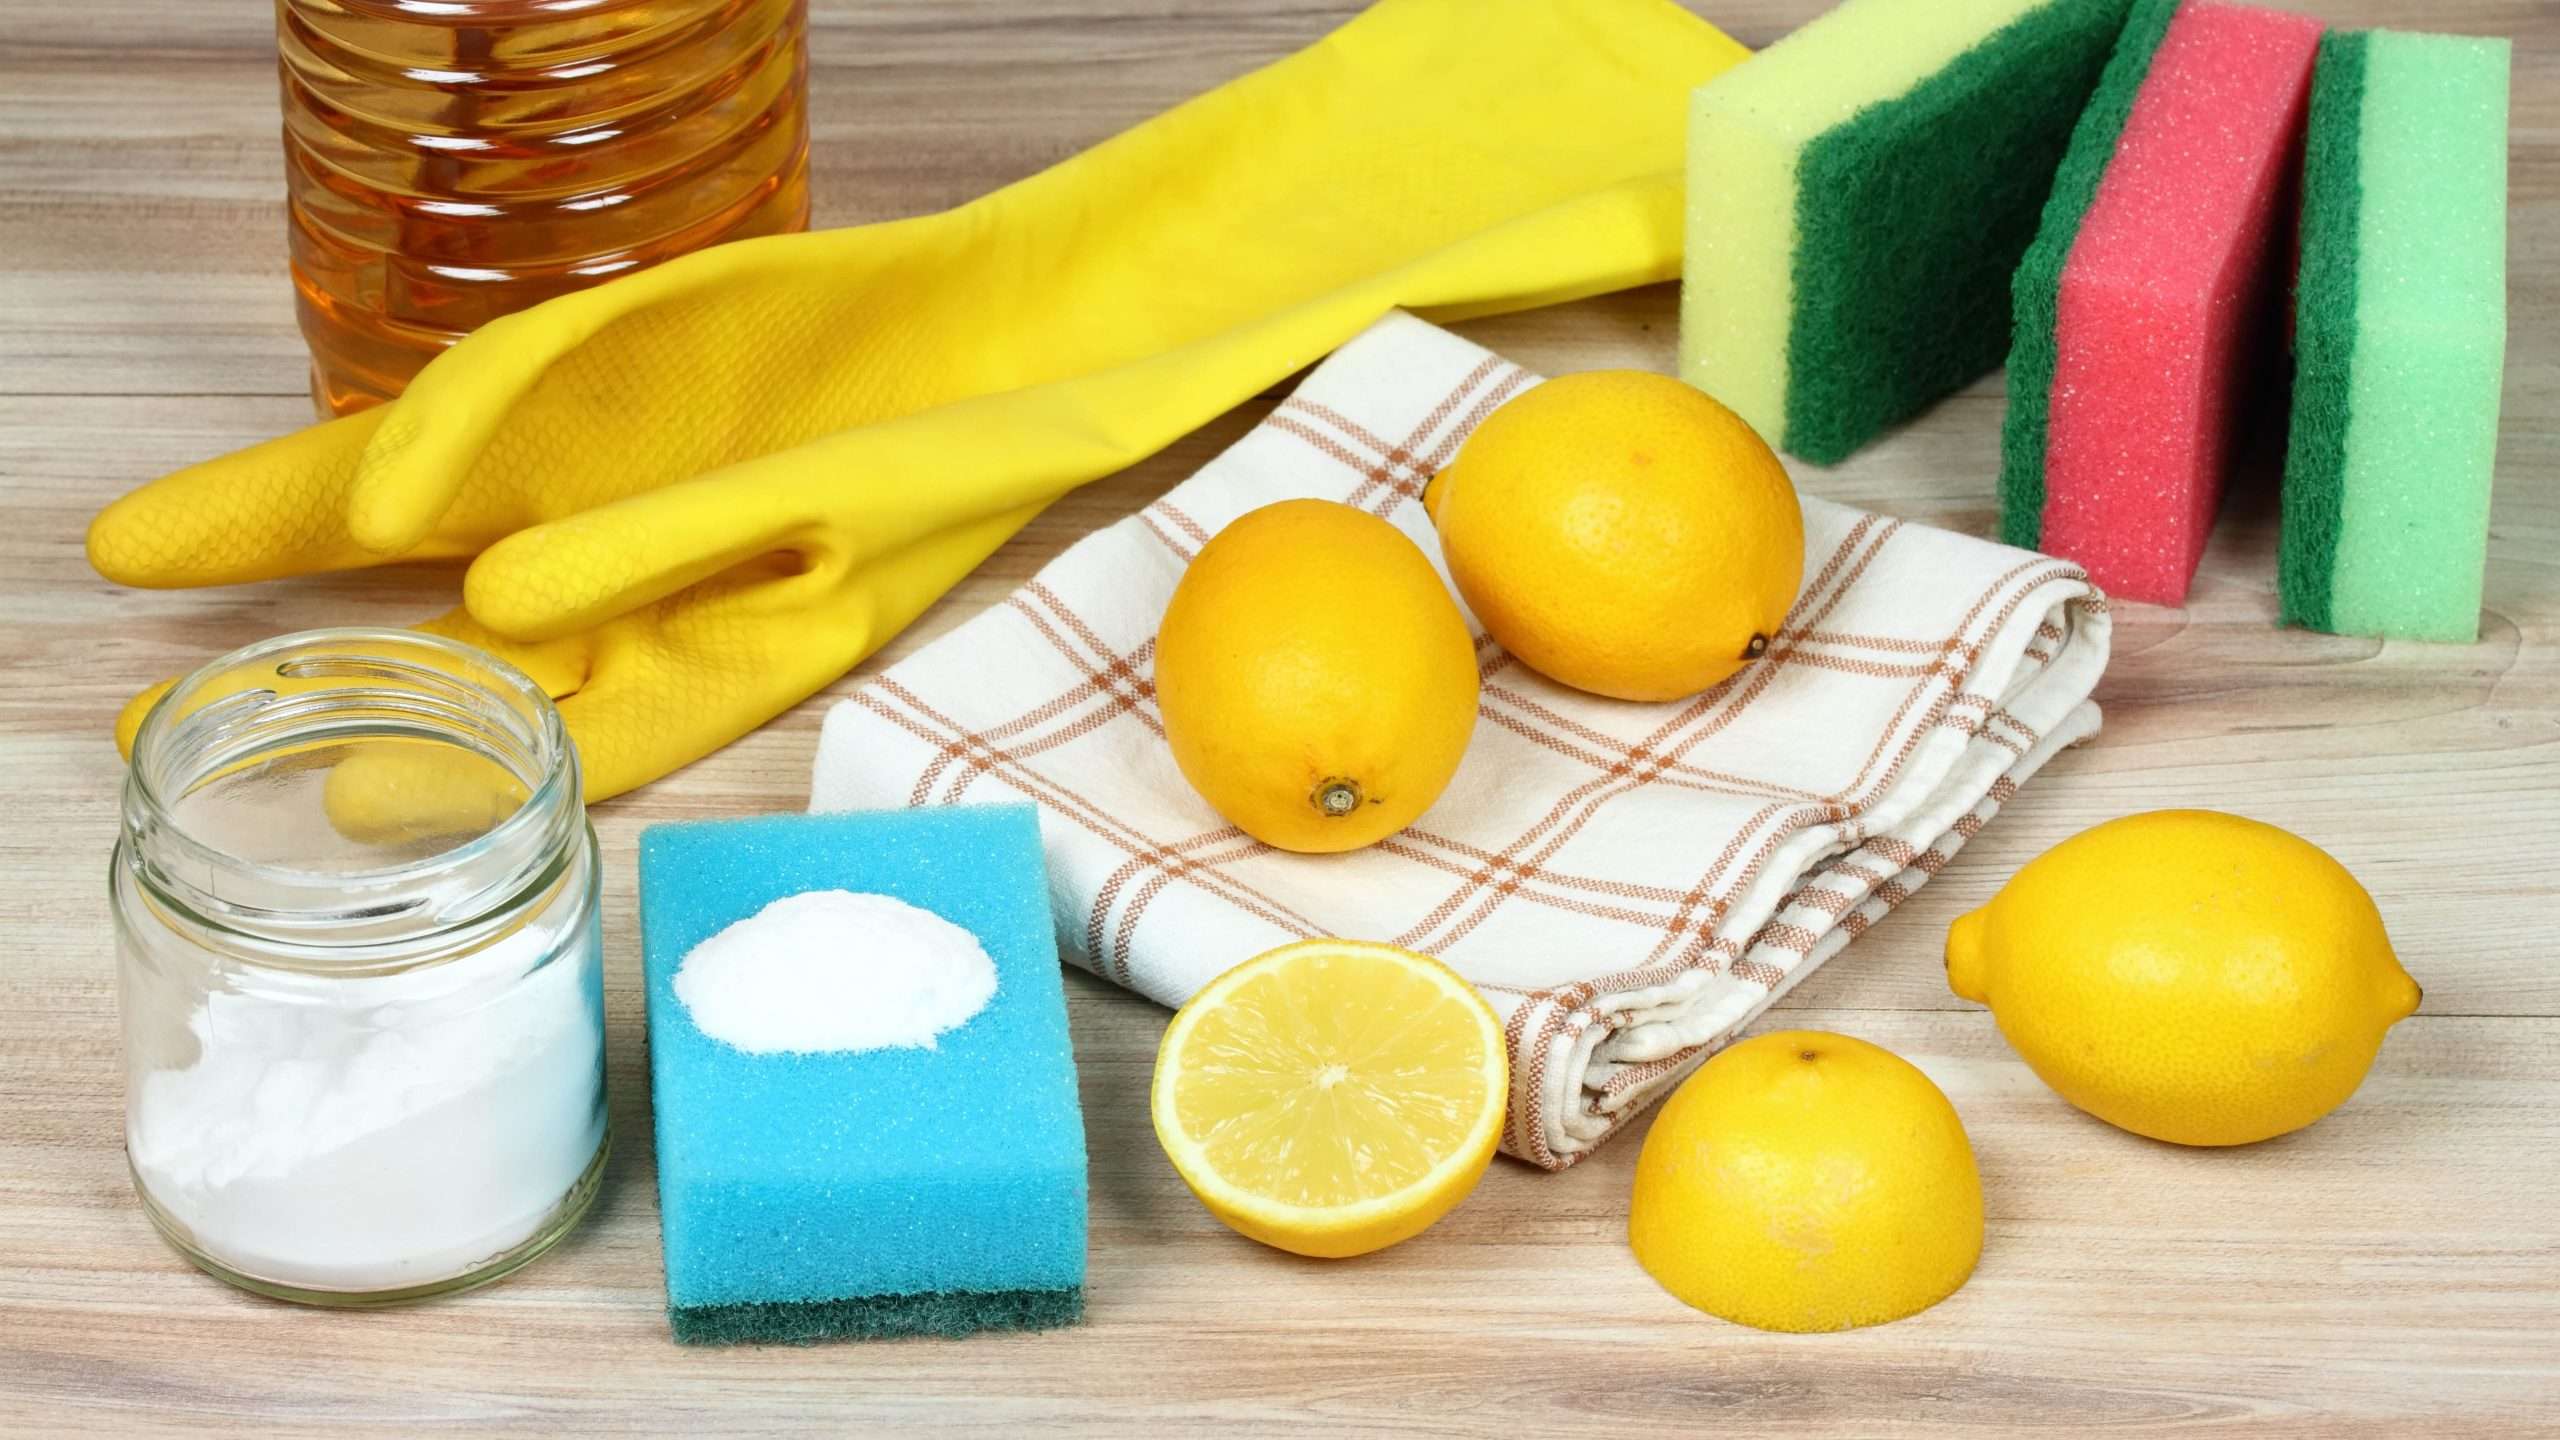
Microwaves are the unsung heroes of the kitchen, quietly heating our leftovers and zapping our late-night snacks. But let’s face it, they also become breeding grounds for splatters, spills, and stubborn stains. Before you reach for those harsh chemicals, consider a natural approach to cleaning your microwave. Armed with just three magical ingredients—lemon, baking soda, and vinegar—you can transform your microwave from grimy to gleaming. Here’s how to do it.

Why Choose Natural Cleaners?

Natural cleaners are not just a trend; they are a healthier and environmentally-friendly choice. Harsh chemicals can leave residues and strong odors that may affect your food. In contrast, lemon, baking soda, and vinegar are safe, effective, and easily available. Plus, they bring a fresh, clean scent to your kitchen without any artificial fragrances.

The Magical Trio: Lemon, Baking Soda, and Vinegar

1. The Citrus Power of Lemon

Lemons are nature’s disinfectant. Their acidity helps cut through grease and grime, while their fresh scent eliminates odors.

How to Use Lemon to Clean Your Microwave:

  • Step 1: Cut a lemon in half and squeeze the juice into a microwave-safe bowl.
  • Step 2: Add about a cup of water to the bowl and drop the lemon halves in as well.
  • Step 3: Place the bowl in the microwave and run it on high for 3-5 minutes. The steam will loosen any dried-on food particles.
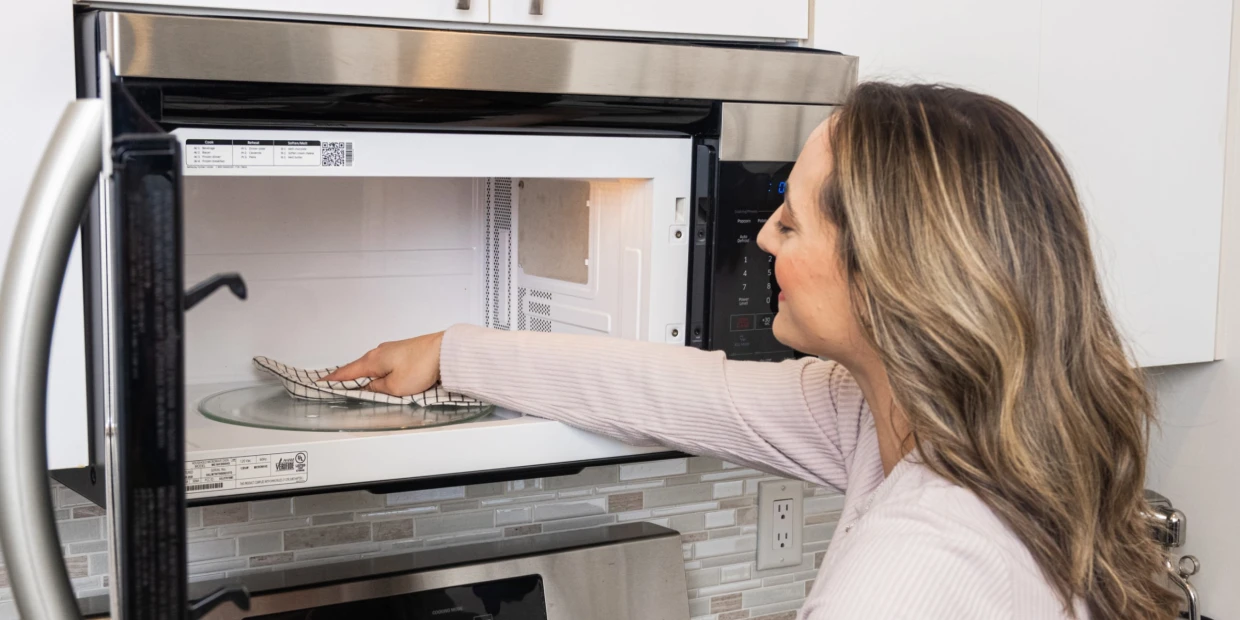
  • Step 4: Carefully remove the hot bowl (use oven mitts!) and wipe down the inside of the microwave with a clean cloth or sponge. The grime should come off easily, and your microwave will smell citrus-fresh.

2. The Scrubbing Power of Baking Soda

Baking soda is a natural abrasive, perfect for tackling stubborn stains and stuck-on food.

How to Use Baking Soda to Clean Your Microwave:

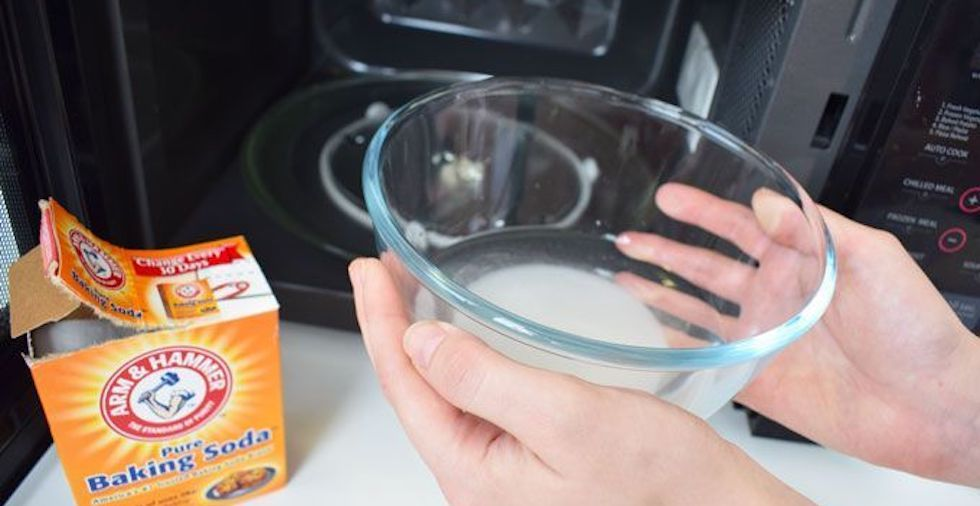
  • Step 1: Make a paste with baking soda and water. Mix about two tablespoons of baking soda with enough water to form a thick paste.
  • Step 2: Apply the paste to any stubborn spots inside the microwave using a sponge or cloth.
  • Step 3: Let it sit for about 5 minutes. The baking soda will work its magic, breaking down the gunk.
  • Step 4: Wipe away the paste with a damp cloth, and watch those stains disappear.

Related: The Baking Essential That’ll Leave Your Microwave Looking Like New

3. The All-Purpose Power of Vinegar

Vinegar is a versatile cleaning agent with antibacterial properties. It’s excellent for deodorizing and cutting through grease.

How to Use Vinegar to Clean Your Microwave:

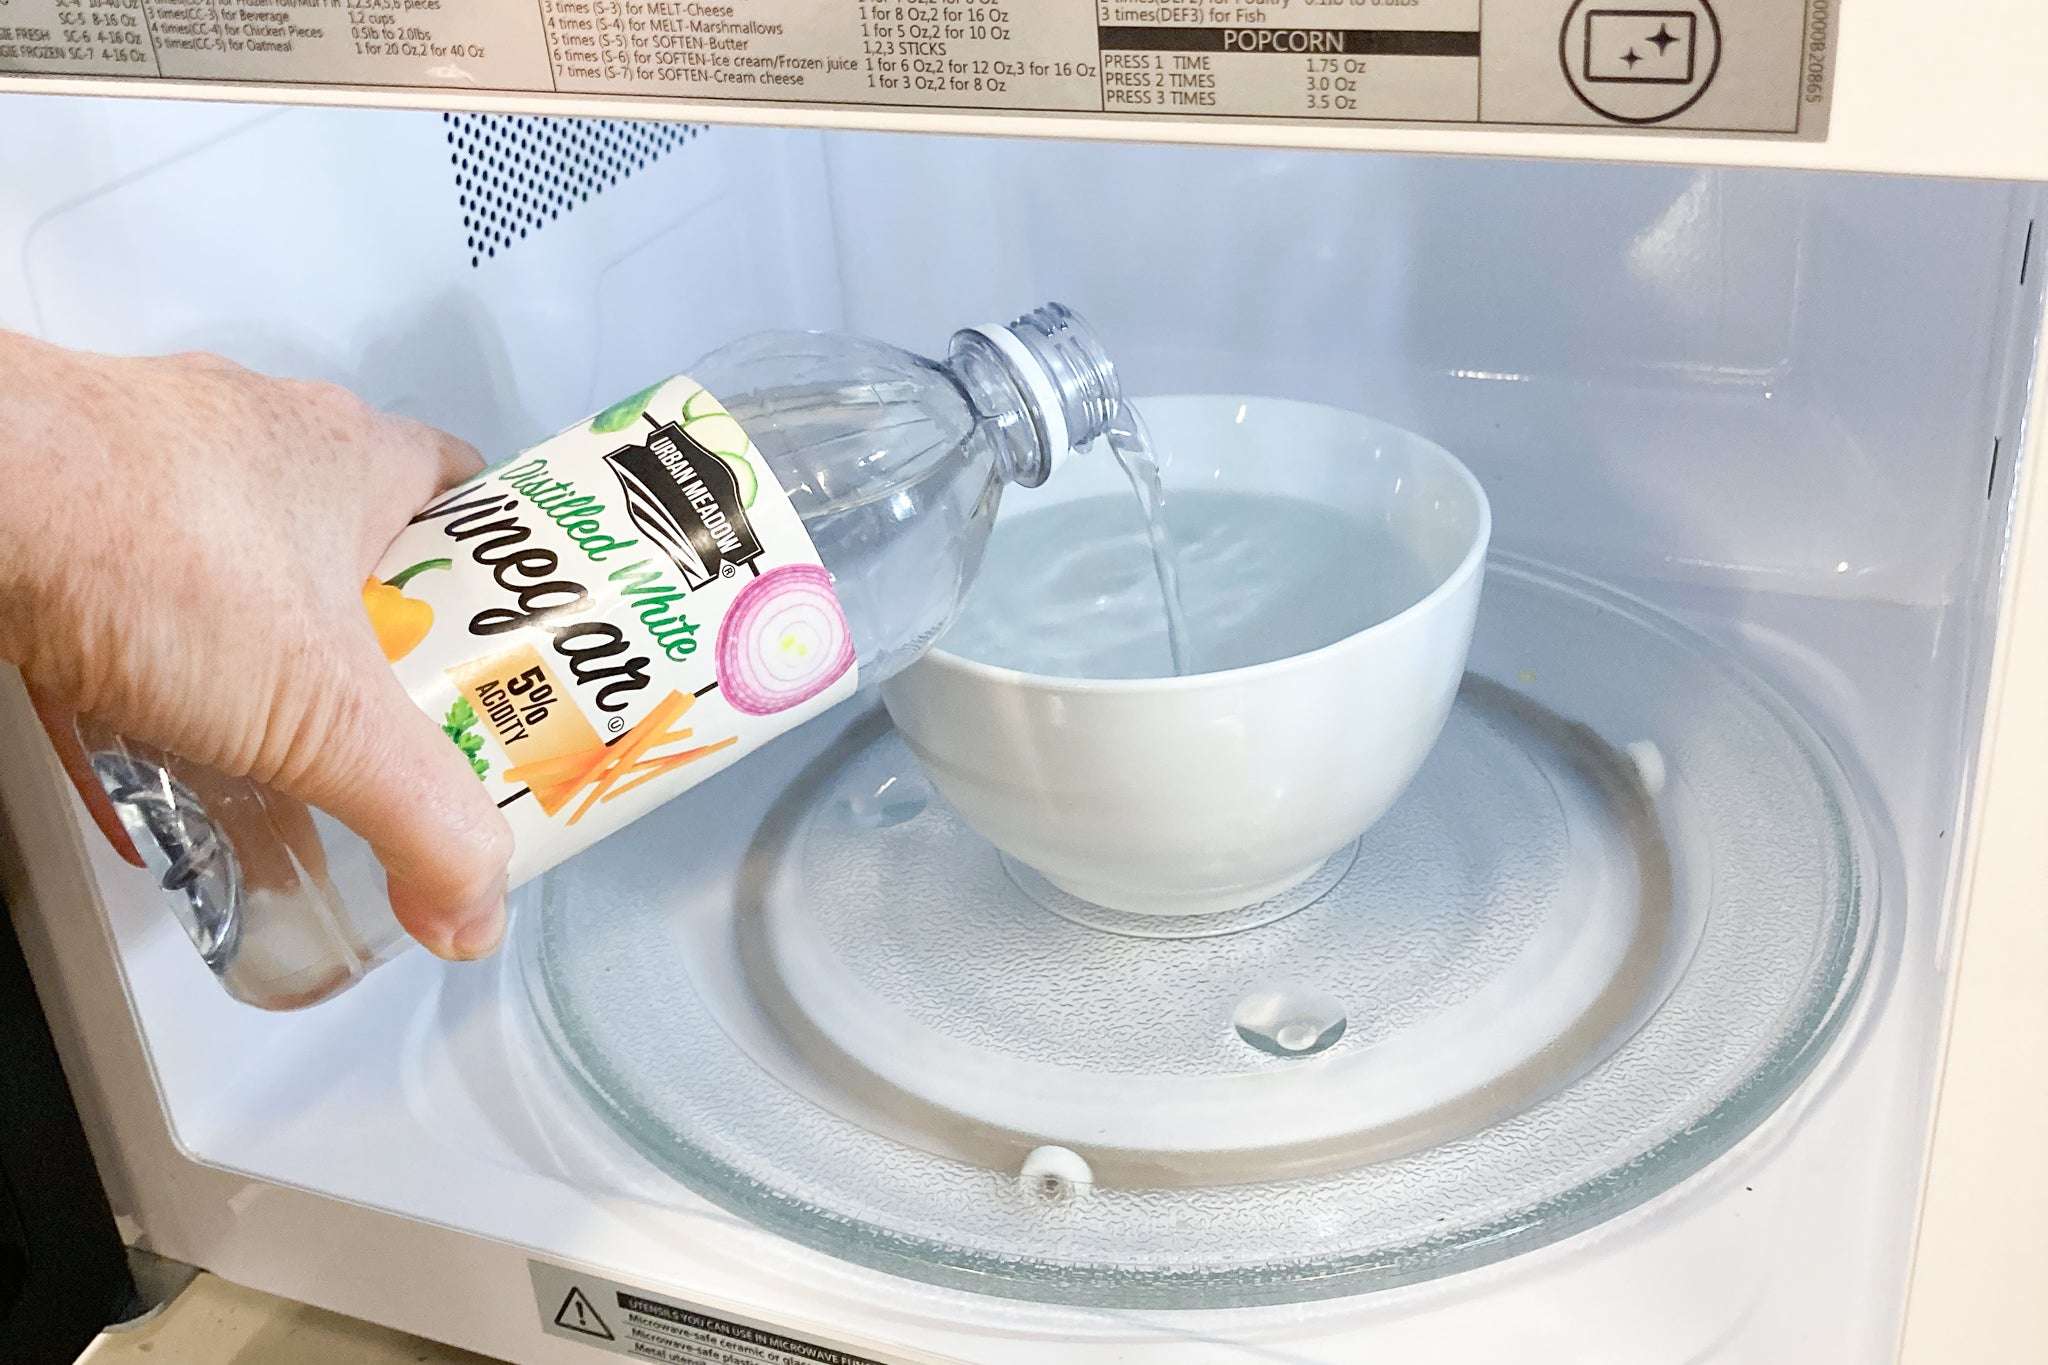
  • Step 1: Mix equal parts of white vinegar and water in a microwave-safe bowl.
  • Step 2: Place the bowl in the microwave and run it on high for about 5 minutes. The steam will help loosen any stuck-on food and neutralize odors.
  • Step 3: After the microwave stops, leave the door closed for a few more minutes to let the steam work its magic.
  • Step 4: Open the door, remove the bowl (carefully), and wipe down the inside of the microwave with a clean cloth. The vinegar smell will dissipate quickly, leaving your microwave clean and odor-free.

Combining Forces: The Ultimate Microwave Cleaning Method

For those particularly stubborn stains or when you want to give your microwave a thorough deep clean, you can combine these ingredients.

How to Use Lemon, Baking Soda, and Vinegar Together:

  • Step 1: Mix the juice of one lemon, a tablespoon of baking soda, and a cup of water in a microwave-safe bowl.
  • Step 2: Microwave the mixture on high for 5 minutes. The steam from this powerful combo will penetrate even the toughest grime.
  • Step 3: Let the steam sit for a few more minutes after the microwave stops.
  • Step 4: Open the microwave, remove the bowl (carefully), and use a cloth or sponge to wipe down the interior. The combination of these ingredients will leave your microwave sparkling clean and smelling wonderful.

Related: 7 Simple Ways to Clean a Microwave

Cleaning your microwave doesn’t have to be a chore, and it certainly doesn’t require a cabinet full of cleaning products. With just lemon, baking soda, and vinegar, you have everything you need to keep your microwave in top shape naturally. Not only will your kitchen appliance be cleaner, but you’ll also enjoy the peace of mind that comes with using safe, non-toxic cleaners. So next time your microwave looks a little worse for wear, remember these three magic ingredients and clean the natural way.

When Life Hands You Lemons, Clean: The Ultimate Guide to Lemon Juice Cleaning

When Life Hands You Lemons, Clean: The Ultimate Guide to Lemon Juice Cleaning

Alright, folks! Fasten your seat belts and grab your citrus helmets because we’re about to embark on a wild, zesty ride through the magical world of lemon juice cleaning. Forget the high-octane, chemically-concocted cleaners that make your eyes water and your nose twitch. Nature’s got your back with its tiny, yellow miracle: lemons. These little powerhouses don’t just deodorize, bleach, and cut grease—they smell like sunshine in a bottle. So, let’s peel back the rind on how these citrus gems can transform your home into a fragrant, sparkling haven!

Find out what makes lemons such good cleaners?

Is your vacuum cleaner stinking up the place like a dust bunny convention? Next time you change the bag or clean the dust cup, add a few drops of lemon oil. It’s like a citrusy wake-up call for your entire house.

And that microwave—oh, the battlefield of food splatters and mysterious smells. Mix 1-2 tablespoons of lemon juice in 1 ½ cups of water in a microwave-safe bowl. Zap it on high for 5-10 minutes, and let the lemony steam work its magic. Wipe down with a cloth and bask in the citrus glow.

Your cutting boards, those brave soldiers of your kitchen escapades, deserve a good scrubbing. Sprinkle coarse salt on the board, then rub it with half a lemon. Rinse with warm water, and your board is ready for its next culinary adventure.

Wooden utensils and bowls can soak up some pretty funky odors. Rub them with a piece of lemon and let the citrus magic do its thing. Remember, it’s not antibacterial, so clean them first!

Related: Best Way to Clean Common Kitchen Appliances

Soap scum is the bane of every bathroom. Mix equal parts lemon juice and water in a spray bottle, spritz it on the offending surfaces, and let it sit. Scrub away with a brush, rinse, and admire your gleaming, scum-free space.

For mirrors and glass that make you do a double-take, mix lemon juice with water in a spray bottle. Wipe with a microfiber cloth and enjoy the streak-free shine.

Pour half a cup of lemon juice into the toilet bowl, let it sit for a few minutes, then scrub with a toilet brush. The antibacterial properties will leave your throne fresh and clean.

Discover the ultimate green cleaning process revealed.

Polish your wood furniture with a mix of two parts olive oil and one part lemon juice. Apply with a soft cloth, rub gently, and watch your furniture shine like never before.

Mix lemon juice with baking soda to form a paste. Apply to carpet stains, let it sit, scrub gently, and blot with a damp cloth. Presto! The stain is history.

Add a cup of lemon juice to your laundry for naturally brightened and fresh-smelling linens. It’s like sunshine in your sheets.

Spray a mix of lemon juice and water on your windows, wipe with a microfiber cloth, and let the sunshine in through sparkling glass.

Related: Proven Non-Toxic Guide to Cleaning Windows Efficiently

General Tips

  • Simmer lemon peels in water for a natural, long-lasting air freshener. Add cinnamon sticks or cloves for an extra touch of cozy.
  • Pour lemon juice on a sponge and leave it in the fridge for a few hours or overnight to eliminate strong odors. Goodbye, onion smell!
  • To clean solid brass, apply a paste of lemon juice and salt or baking soda. Let it sit, rinse, and buff to a shine.
  • For copper pots, rub with half a lemon and some salt, rinse, and dry. Shine up aluminum pots and chrome faucets with a cut lemon, rinse, and buff.
  • Toss a few lemon peels in the fire for a pleasant fragrance next time you use your fireplace.

When life hands you lemons, don’t just make lemonade—make your home sparkle and shine! Lemons are the unsung heroes of the cleaning world, cutting through grease, eliminating odors, and bringing a fresh scent wherever they go. So, embrace the power of lemon juice and transform your home into a citrus-scented sanctuary. Happy cleaning, and remember to keep those lemons handy!